Creating a Telnet 5250 server
Note
- A server object can be linked to only one anonymous account.
- A server object can be linked to only one forward account.
- In case of Telnet connections over forward and regular accounts, users are asked to provide their login credentials twice. First time to authenticate against Fudo PAM and then to connect to the target host.
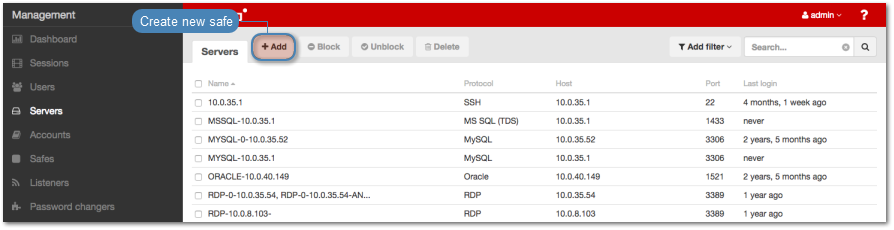
- Select > .
- Click .
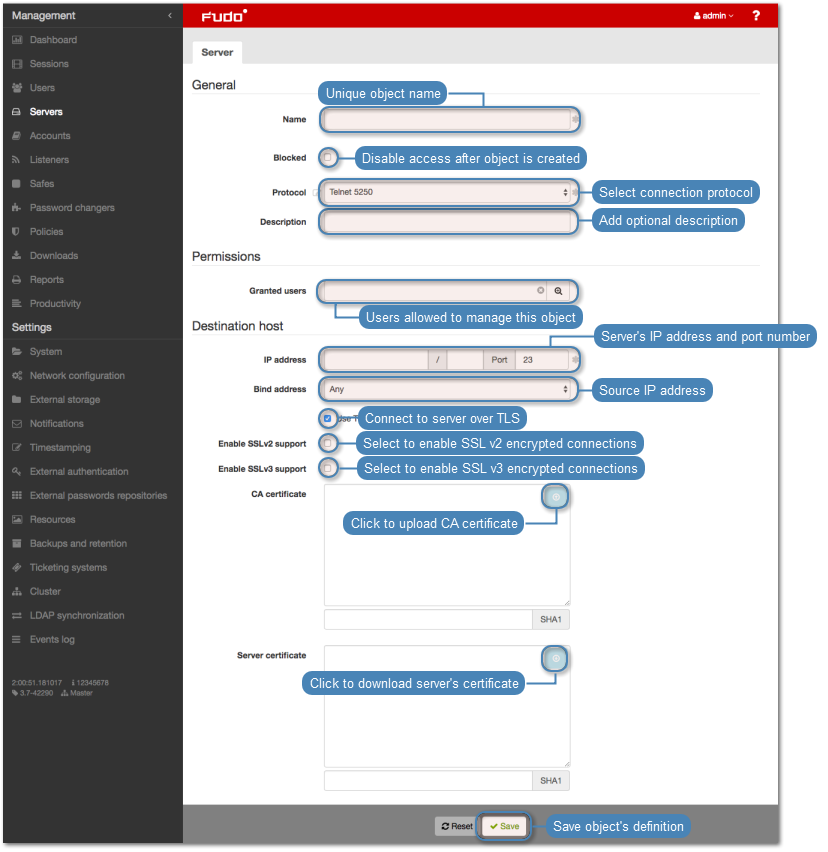
- Enter server’s unique name.
- Select Blocked option to disable access to server after it’s created.
- Select
Telnet 5250from the Protocol drop-down list. - Enter optional description, which will help identifying this server object.
- In the Permissions section, add users allowed to manage this object.
- In the Destination host section, enter server’s IP address and port number.
- From the Bind address drop-down list, select Fudo PAM IP address used for communicating with this server.
Note
- The Bind address drop-down list elements are IP address defined in the Network configuration menu (Network interfaces configuration) or labeled IP addresses (Labeled IP addresses).
- In case of cluster configuration, select a labeled IP address from the Bind address drop-down list and make sure that other nodes have IP addresses assigned to this label. For more information refer to the Labeled IP addresses topic.
- Select the Use TLS options to connect to monitored server over TLS.
- Select the Enable SSLv2 support to support SSL v2 encrypted connections.
- Select the Enable SSLv3 support to support SSL v3 encrypted connections.
- Click i to upload CA certificate.
- Click i to download the server’s certificate or paste the certificate into the text area.
- Click .
Related topics: