Two-factor OATH authentication with Google Authenticator
Google Authenticator generates verification code as a dynamic component to a static password to increase account security.
Fudo Enterprise allows configuring default settings for the OATH authentication so they are automatically added to the user definition, when administrator selects OATH as an active authentication method.
Note
When configuring two-factor OATH authentication in Fudo Enterprise you can also consider using alternative applications such as Microsoft Authenticator.
Protocols Supporting OATH Authentication Method
When logging in, OATH authentication can be performed either in Challenge-Response mode or by concatenating the dynamic code generated by Google Authenticator to the end of the static password defined in the authentication method, such as password481418. Please note that not all protocols support this authentication method.
OATH Availability Across Protocols¶Platform or Protocol Challenge-Response Mode Password + Dynamic Code Logging into Access Gateway available available Logging into Admin Panel available available VNC available available SSH available available RDP available available Telnet 3270 not available available Telnet 5250 not available available Telnet not available available MS SQL(TDS) not available not available HTTP/S not available not available TCP not available not available MySQL not available not available X11 not available not available Modbus not available not available
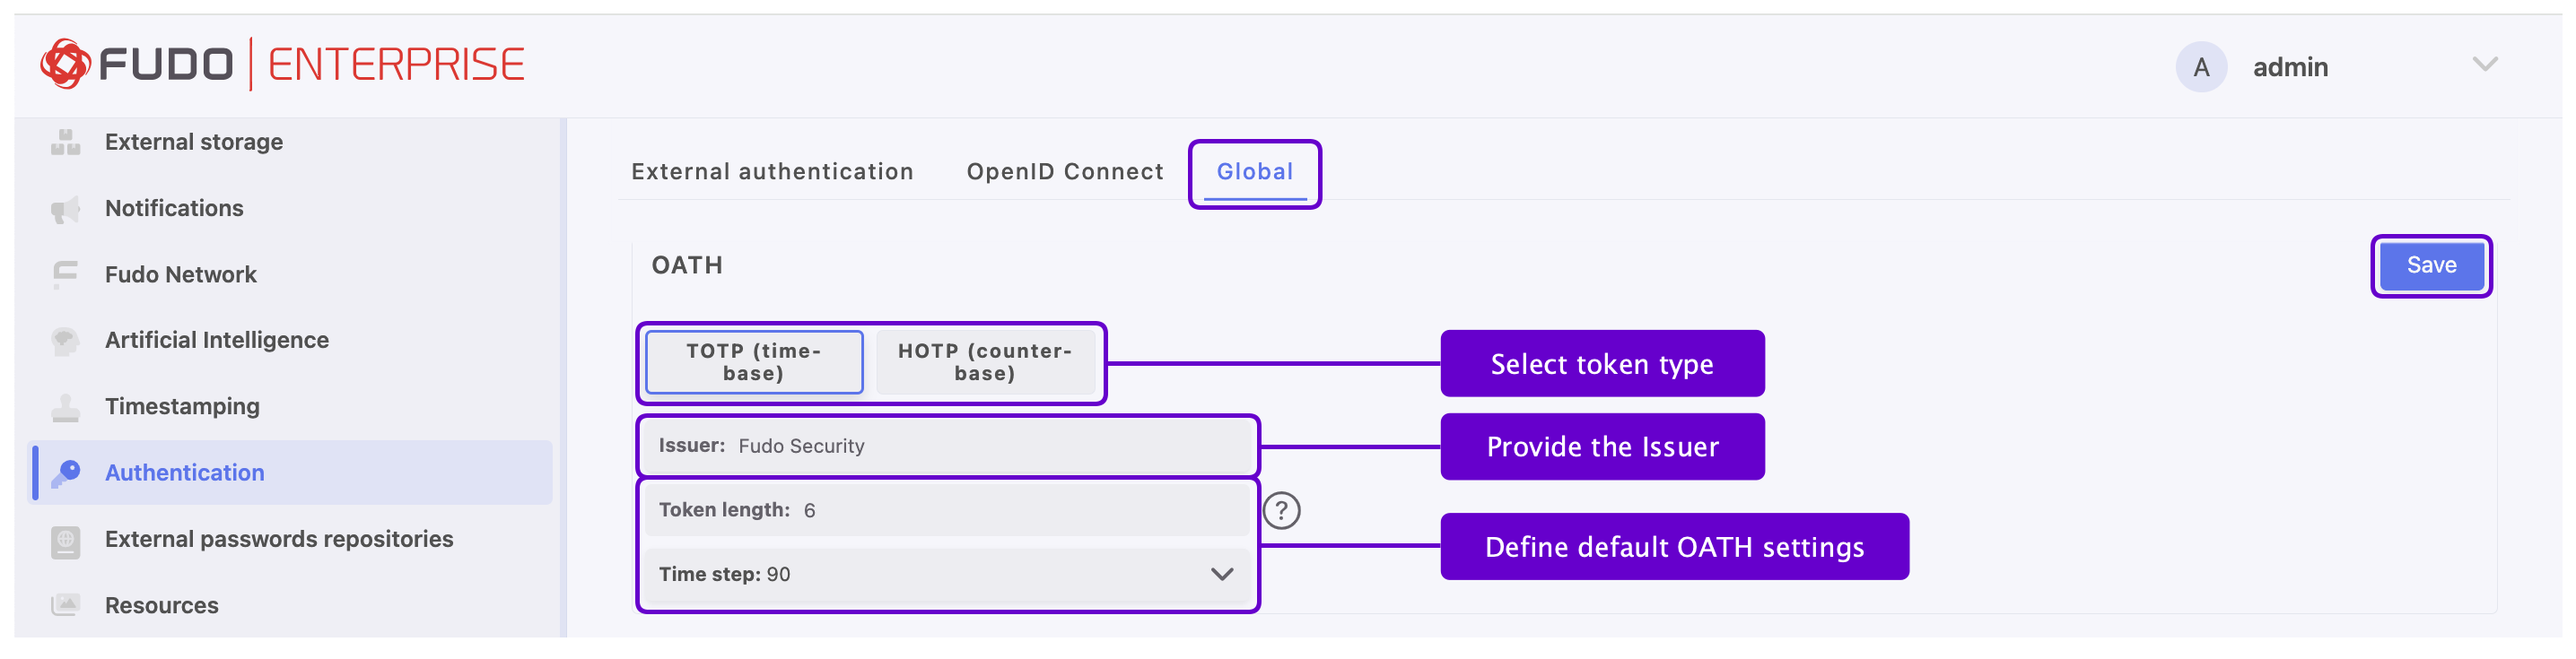
Configuring the OATH Authentication Method
In order to configure default settings for the OATH authentication method, follow the instruction:
- Select > > tab.
- Go to OATH section and select token type:
TOTP (time-base)orHOTP (counter-base). - Fill out the Issuer field.
- Fill out the Token length field.
- Input Time step if selected Token type was
TOTP (time-base). - Click next to the OATH section name.
In order to configure OATH as an active authentication method for a user, follow the steps:
- Select > .
- Find and click the user for whom you want to add the OATH authentication method.
- Scroll down to the Authentication section.
- Choose
OATHtype from the Add authentication method drop-down list. - Choose the
Static passwordorExternal authenticationas a first factor.
If Password is chosen:
- Enter password’s static part.
- Fields Token type, Token length and Time step will be filled out automatically as default settings claim. Their value is editable.
- Enter a secret that will be used by Google Authenticator. Note, that the secret must be a
Base32encoded value. Alternatively, click to generate it automatically or to show the QR code.
If External authentication is chosen:
- Select External authentication source.
- Fields Token type, Token length and Time step will be filled out automatically as default settings claim. Their value is editable.
- Enter a secret that will be used by Google Authenticator. Note, that the secret must be a
Base32encoded value. Alternatively, click to generate it automatically or to show the QR code.
Note
The Initialized option serves for the user’s initialization via the QR code. When their static password as a First factor setting is filled or External authentication source if configured, the QR code is displayed during their first connection. After successful first authentication the Initialized option becomes checked and takes uneditable state.
- Click .
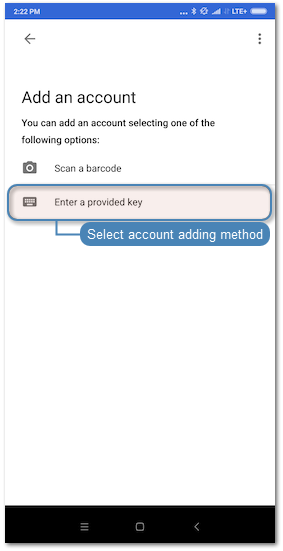
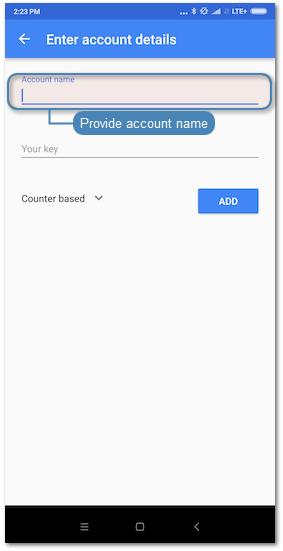
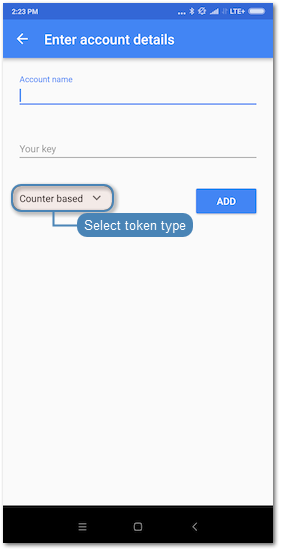
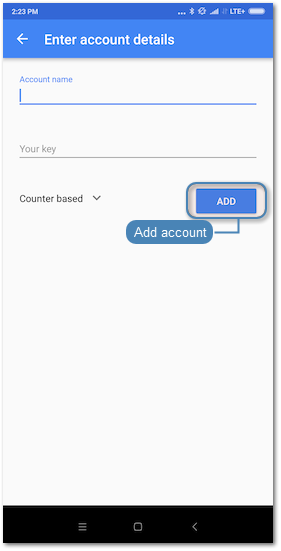
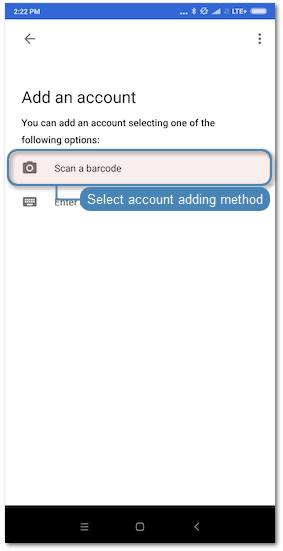
- Launch Google Authenticator and add new service.
| Manual entry | QR Code |
|---|---|
Note Click . on the user edit form in the Authentication section to reveal the secret. 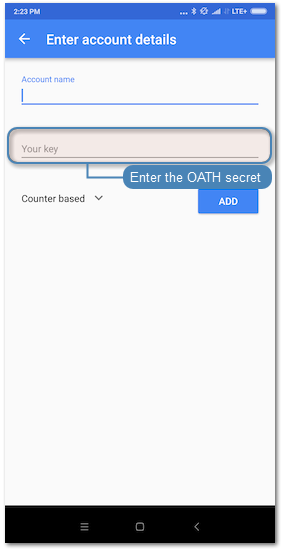
|
|
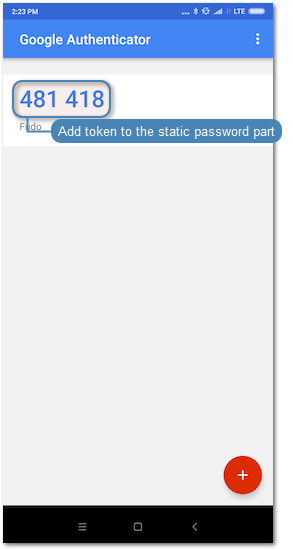
- When logging in, the password string consists of a static password defined in the authentication method and dynamic part generated by the Google Authenticator, e.g.
password481418.
Related topics: