System initiation
Appliance
Fudo Enterprise is delivered with two uninitiated USB flash drives. During initial boot up, Fudo Enterprise generates encryption keys, which are stored on enclosed USB flash drives. More information on encryption keys can be found in the Security measures chapter.
- Install device in 19” rack cabinet.
- Connect both power supply units to 230V/110V power outlets.
Note
Connecting both power supplies is necessary to start the system.
- Connect network cable to one of the RJ-45 ports.
- Connect both of the USB flash drives delivered with Fudo Enterprise.
Note
Initial boot up requires conecting both USB flash drives. More information on encryption keys can be found in Security measures chapter.
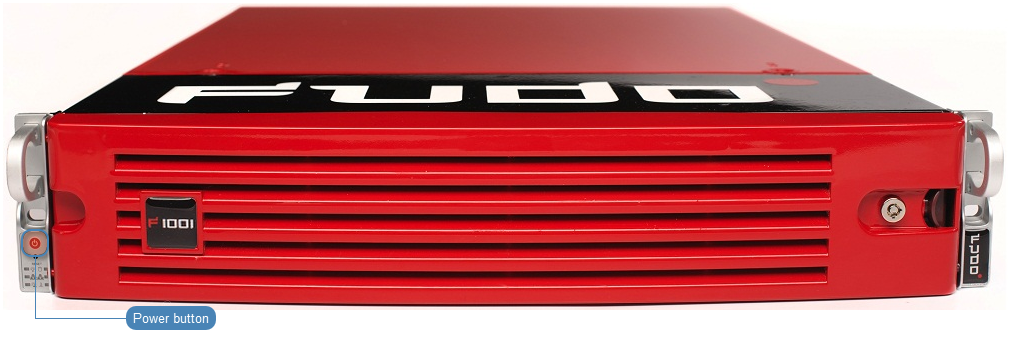
- Press the power button on the front panel.
- After keys have been initiated, disconnect USB flash drives.
Warning
- One of the USB flash drives containing encryption key must be disconnected and placed in a secure location, accessible only to authorized personnel.
- If the USB flash drives with encryption keys are lost, device will not be able to boot up and stored sessions will not be accessible. Manufacturer does not store any encryption keys.
Note
- In daily operation, one encryption key is required to start the system after which it can be disconnected.
- It is advised to make a backup copy of the encryption key.
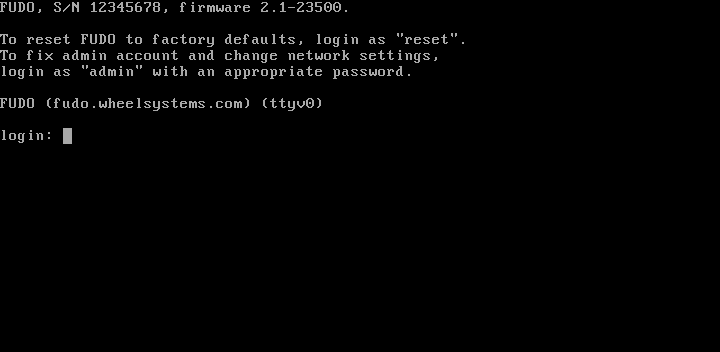
Setting IP address using system console
- Connect monitor and keyboard to the device.
- Enter administrator account login and press Enter.
Note
Default login credentials:
In cloud Fudo Enterprise versions virtual machine ID is usually set up as default password. Please contact your Fudo Enterprise reseller to learn more.
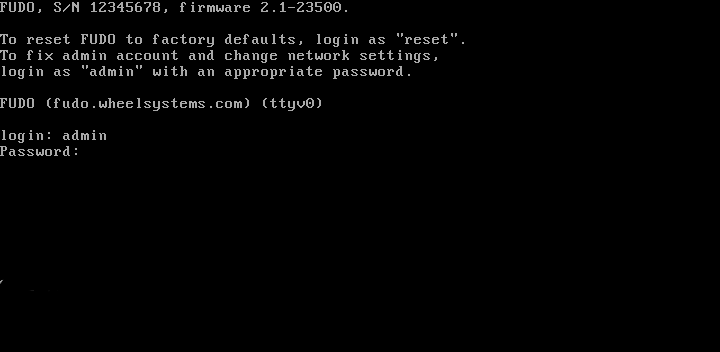
- Enter administrator account password and press Enter.
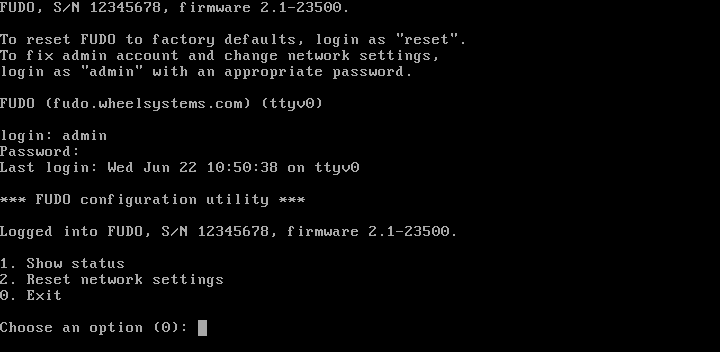
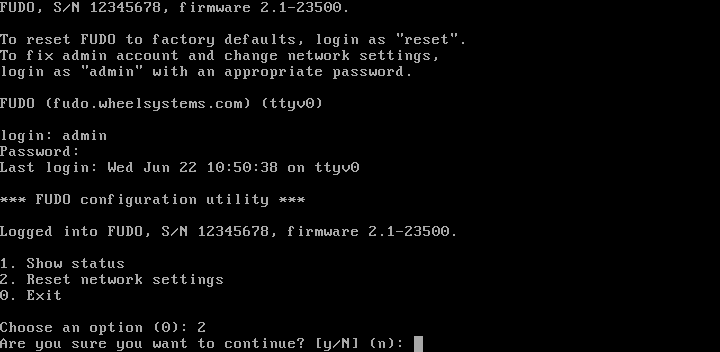
- Enter
2and press Enter to change network configuration.
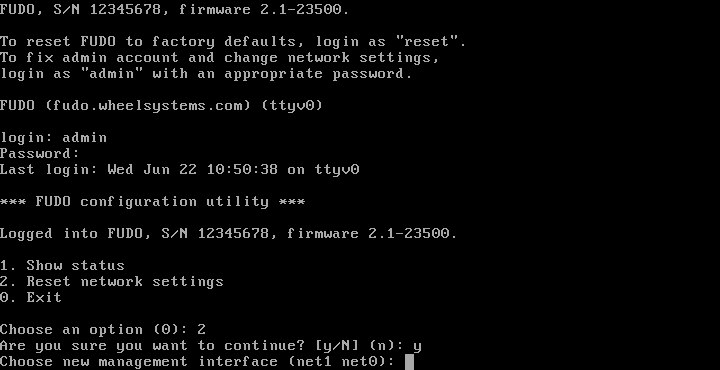
- Enter
yand press Enter to proceed with resetting network configuration.
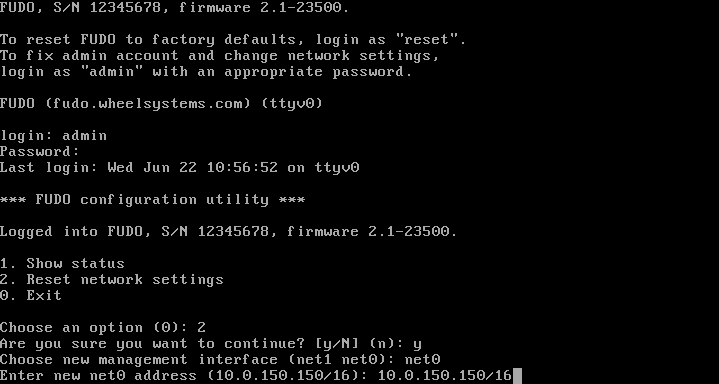
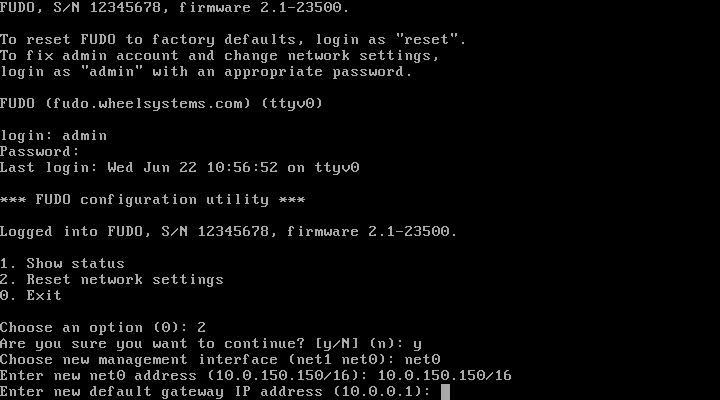
- Enter the name of the new management interface (Fudo Enterprise web interface is accessible through the management interface).
- Enter IP address along with the network subnet mask separated with
/(e.g.10.0.0.8/24) and press Enter.
- Enter network gate and press Enter.
Virtual machine
Local Fudo Enterprise deployment is based on uploading the OVA / OVF file into virtualization tool and running the Fudo Enterprise instance on browser. Please follow below chapters to deploy Fudo Enterprise using the VMware or Proxmox virtualization tools. In order to proceed the deployment, the OVA or OVF file is needed.
VMware Installation with OVA file
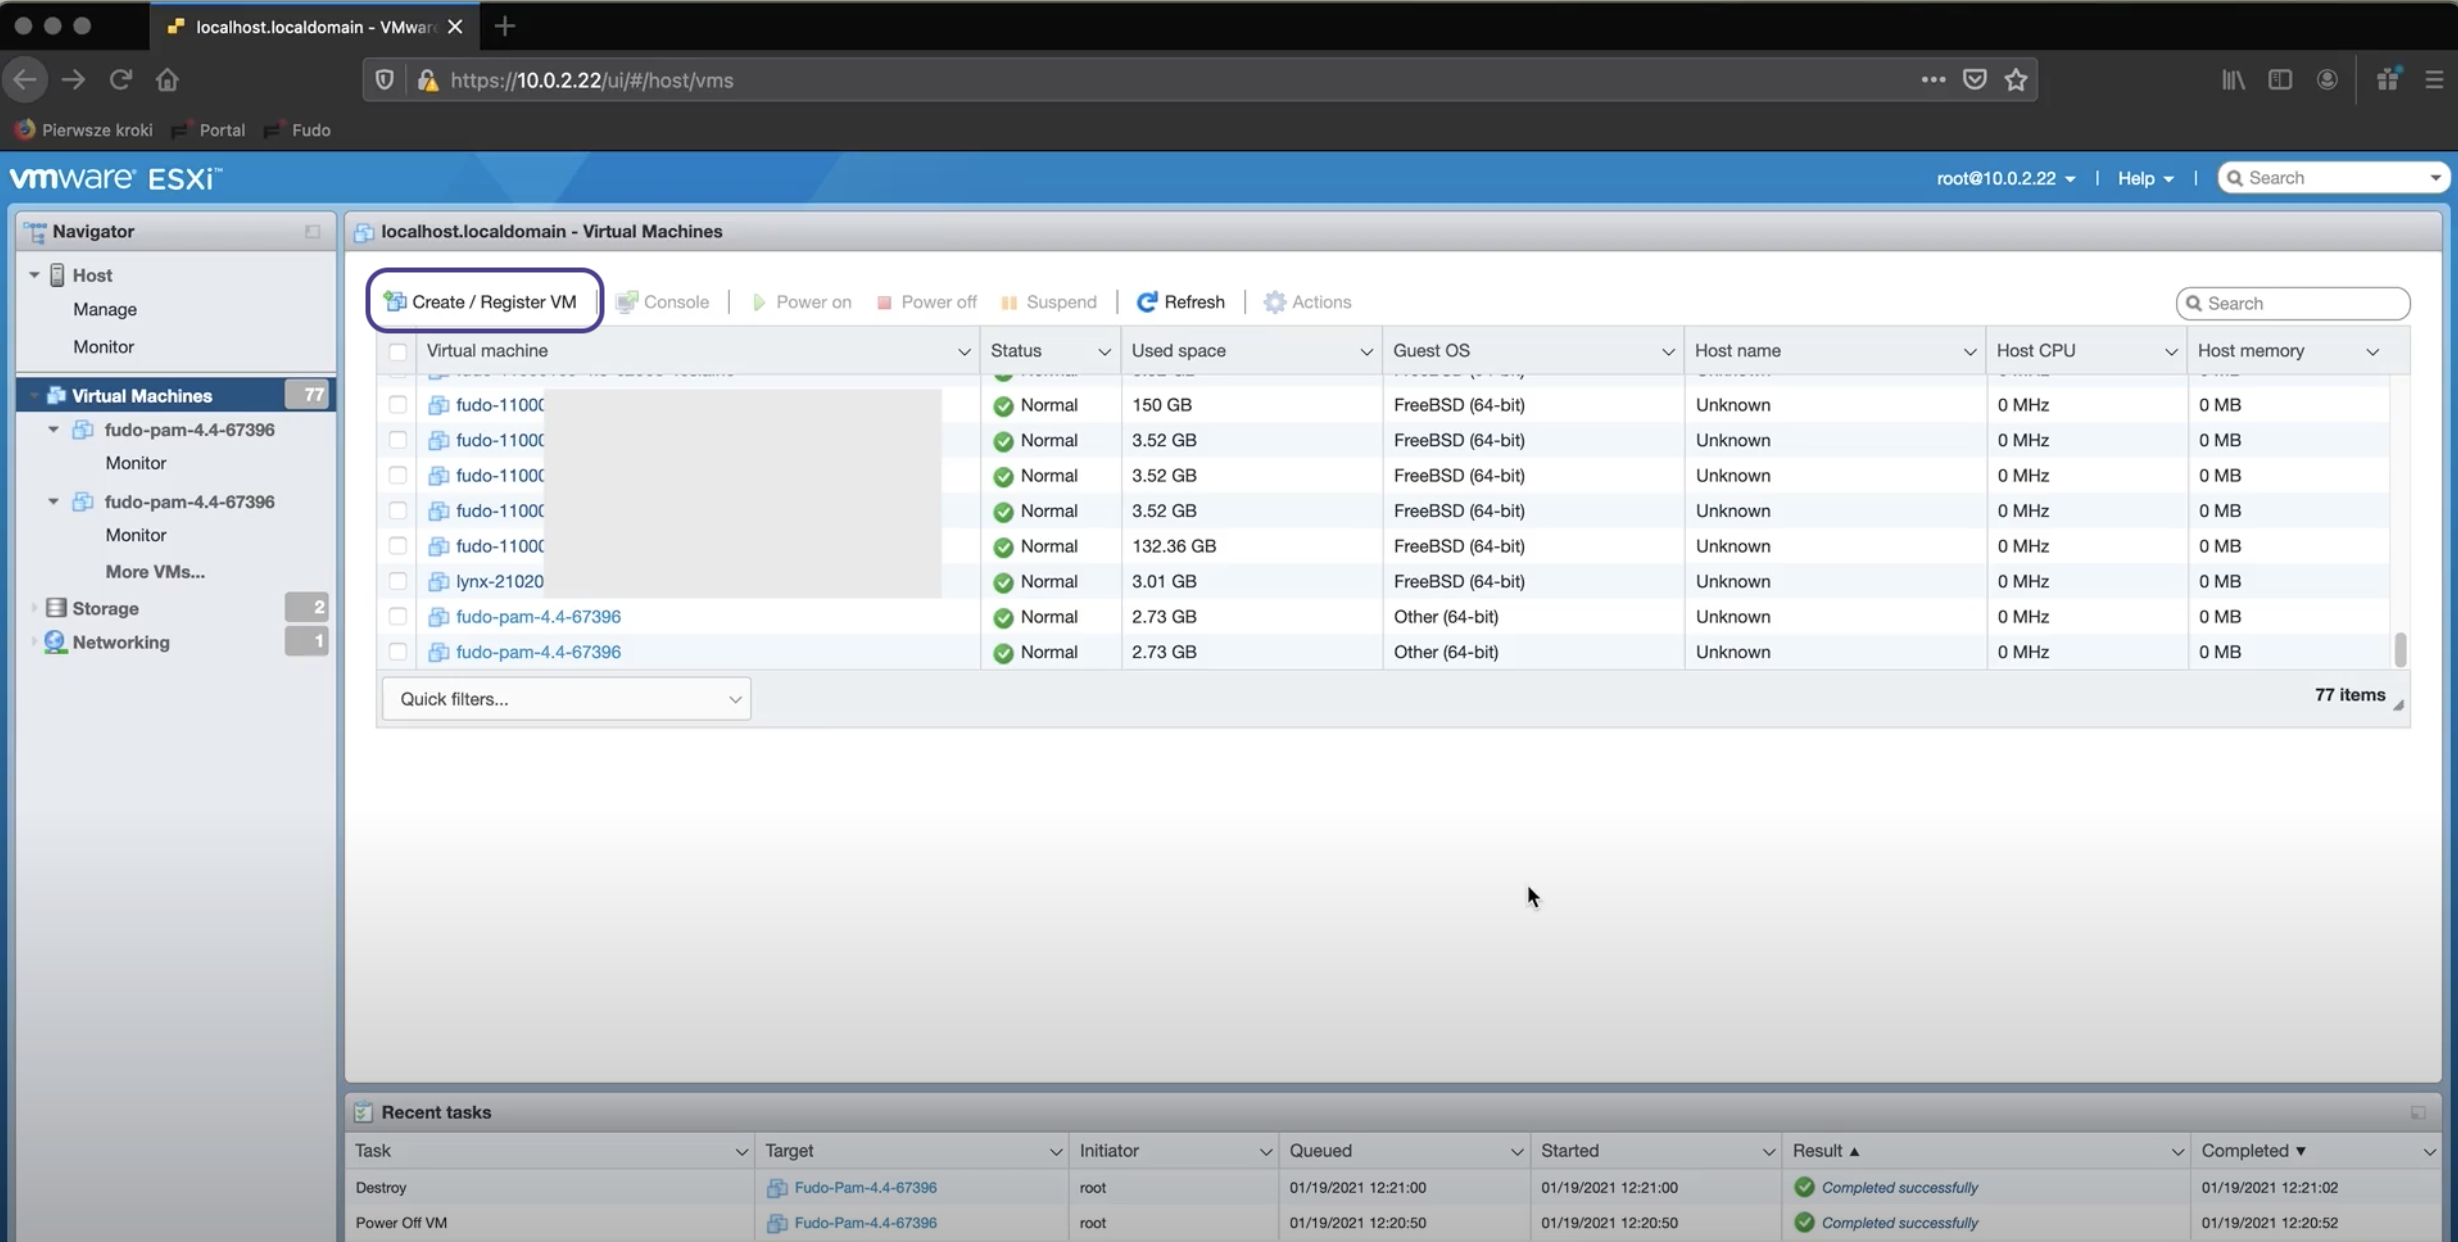
- Click the Create / Register VM button.
- In the modal window, select the Deploy a virtual machine from an OVF or OVA file option.
- Select the downloaded OVA file and upload it, or just drag and drop it into the upload area.
- Enter a name for the virtual machine.
- Select the storage option.
- Select deployment options.
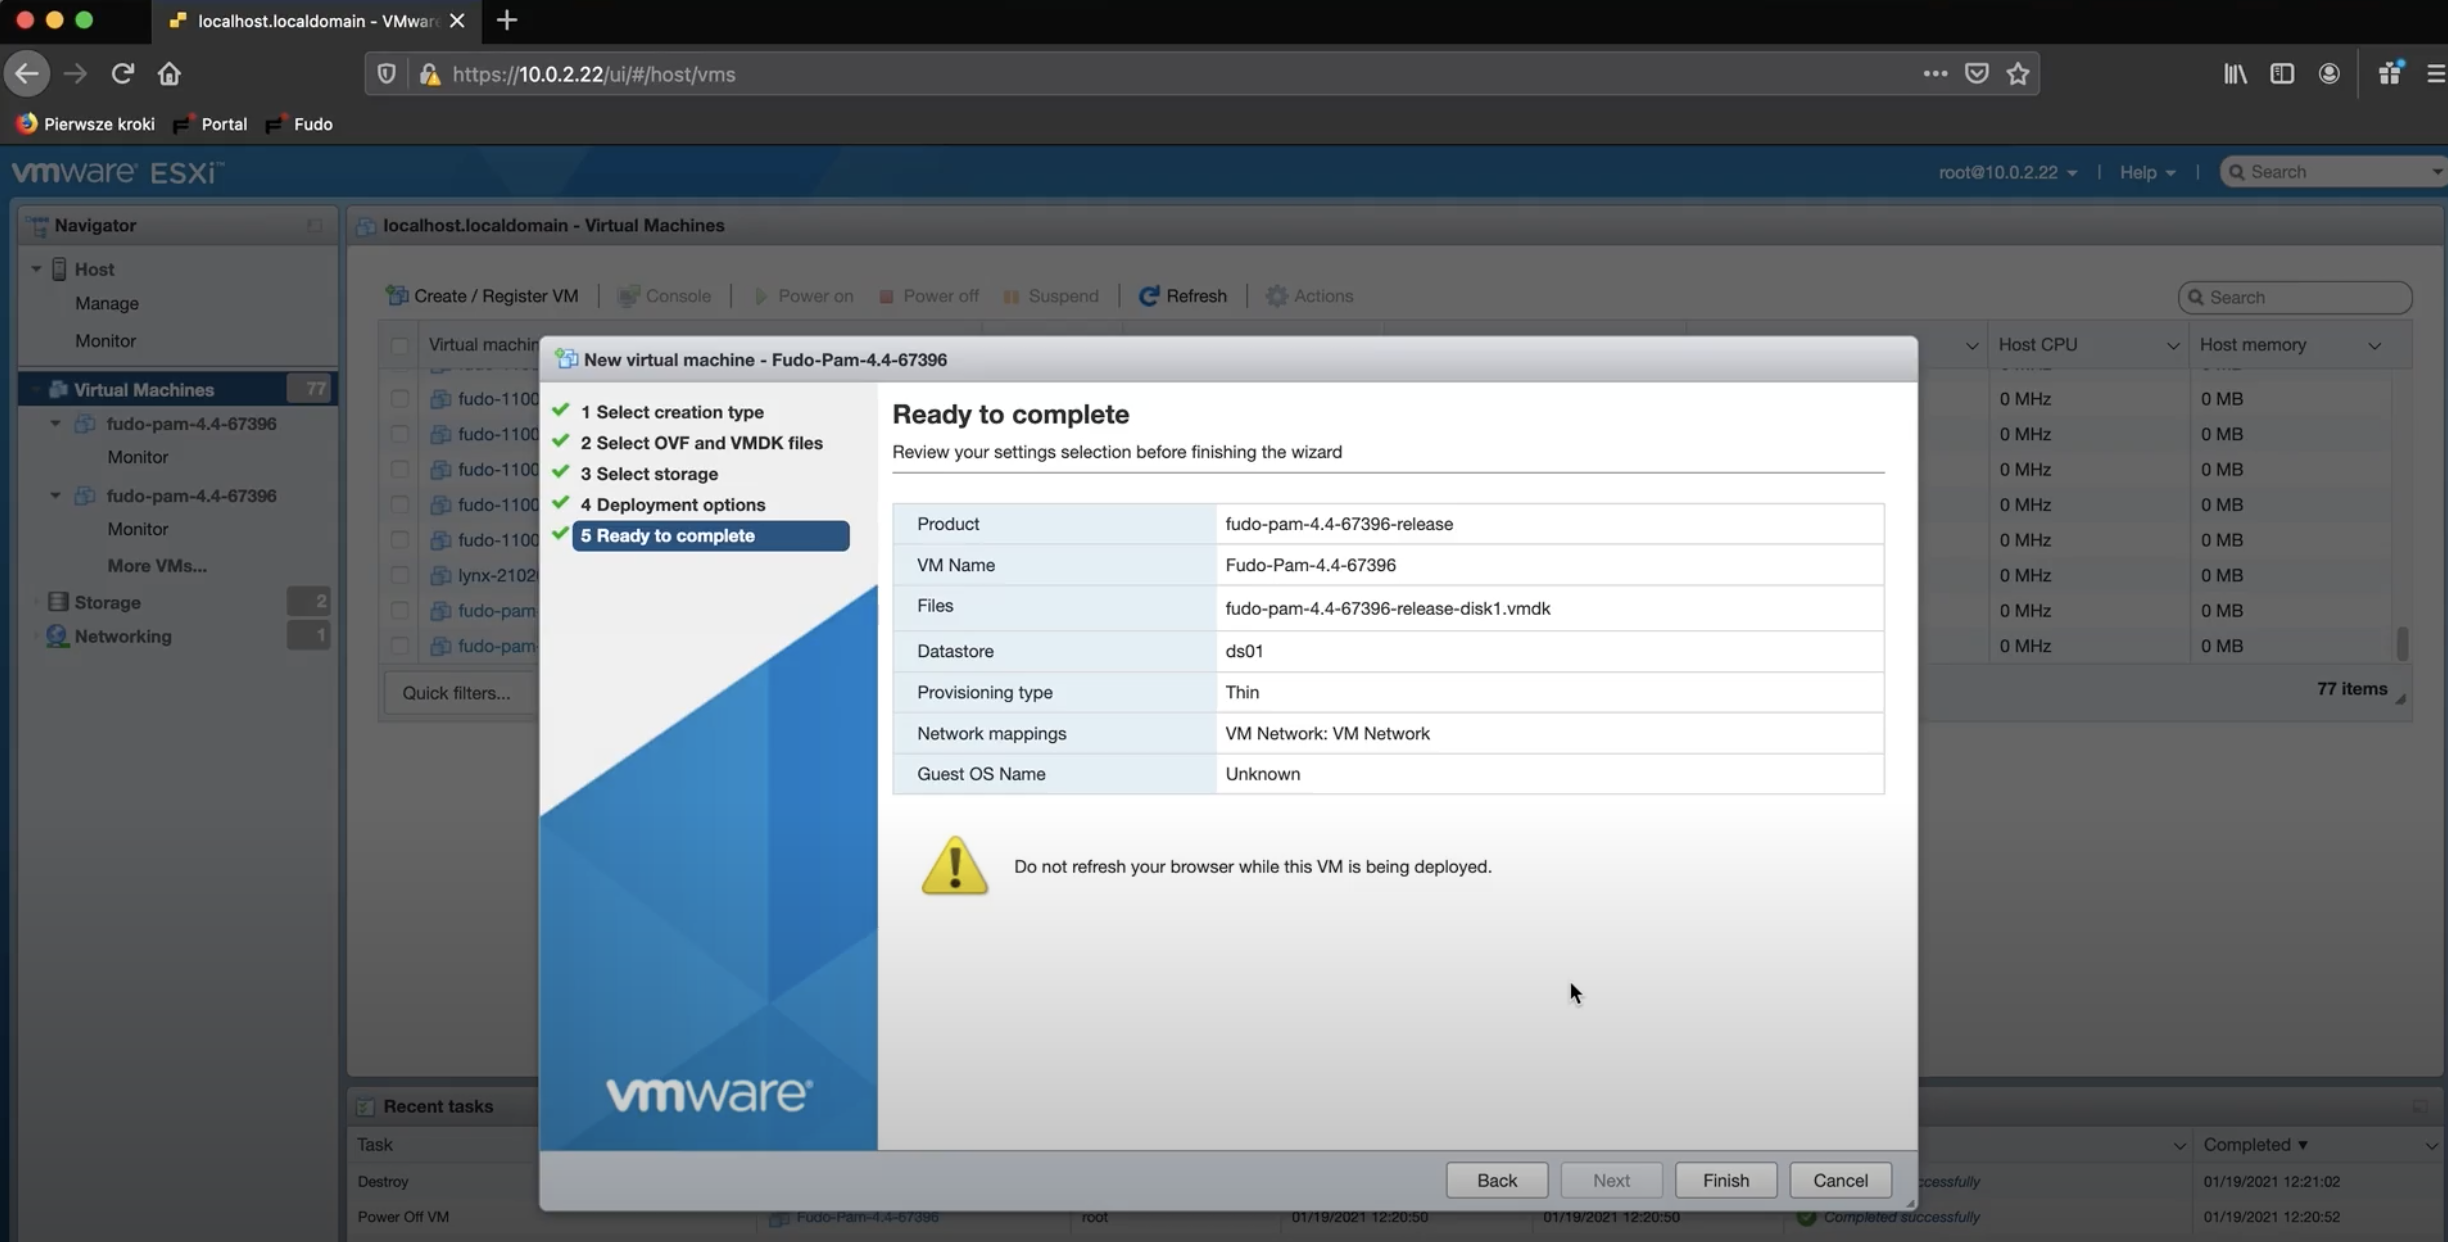
- Click Finish and wait for the configuration file to be fully uploaded.
- Initialize the machine by selecting its record.
- Click the Console button and select the Launch remote console option. Select your application and verify certificate.
- In the console, provide a passphrase.
Note
The password is optional and can be left empty. However, if the password is provided, the Fudo system encrypts it and asks for it every time the VM is rebooted.
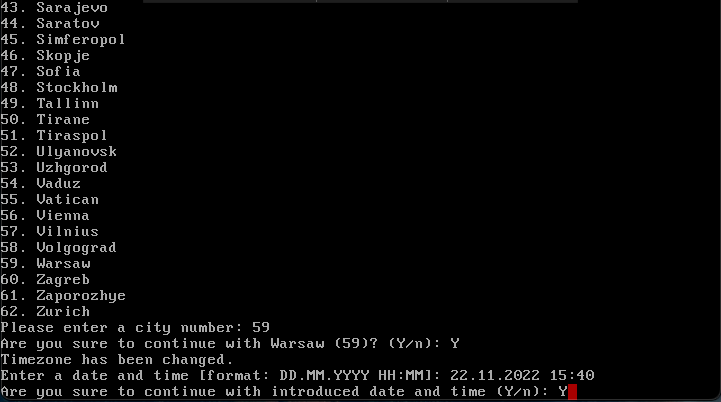
- Select the region and city by providing respective codes and confirming your choice.
- Enter date and time in
DD.MM.YYYY HH:MMformat.
Set the network configuration:
Sign in as an administrator:
login: adminpassword: proxycryptoFrom the list of the Fudo configuration utility, select option 3 - Reset network settings.
Select new management interface and enter the IP address.
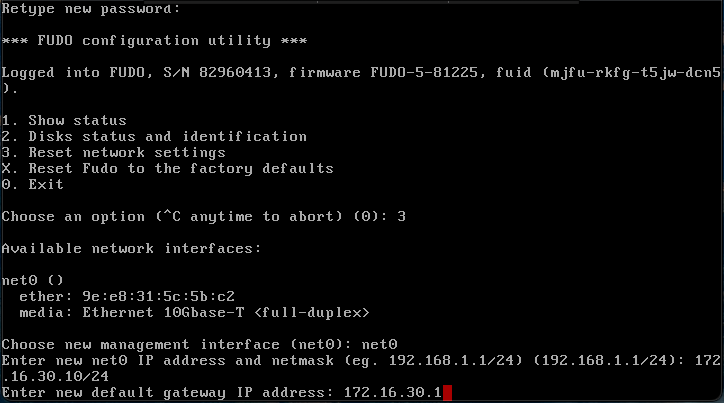
Note
Your Fudo Enterprise instance has been successfully initiated! Now you can enter the registered IP address in your browser and start with your first configuration.
Proxmox Installation with OVF file
Create a new machine using cores, memory and VM name as read from the OVF manifest, and import the disks to the local-zfs storage:
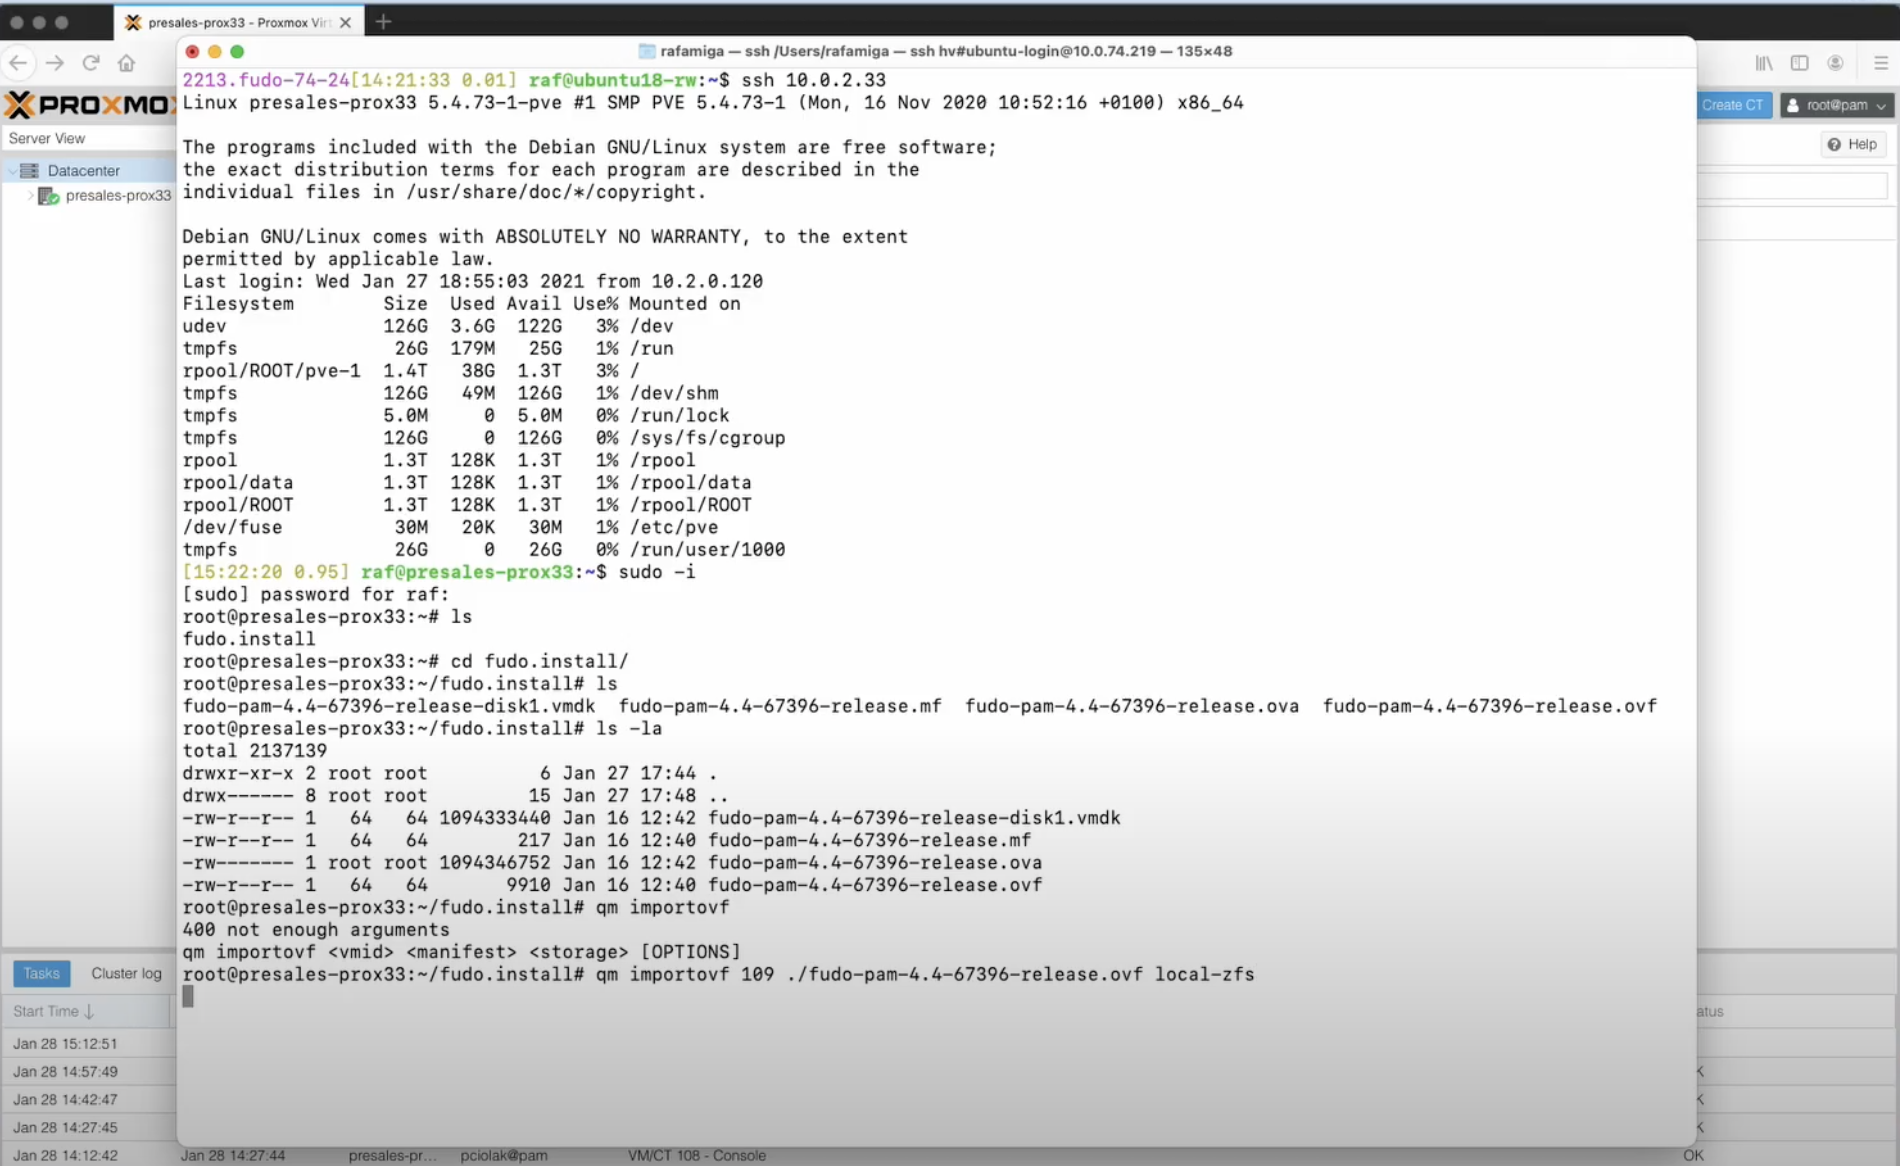
Log in to to a remote computer, for example, with
ssh 10.0.2.33and provide a password.In the folder fudo.install execute a command:
qm importovf <vmid> <manifest> <storage> [OPTIONS]for example:
qm importovf 109 ./fudo-one-36271-release.ovf local-zfs
- Wait for the manifest data to be imported.
- In the Proxmox client find your server and open settings for your
109 (fudo-one-36271-release)virtual machine. - In the Hardware section, change the Hard Disk options into the Write back cache, and in Advanced section check the SSD emulation option, then the Discard option. Click OK.
- In the SCSI Controller section, select the VirtIO SCSI option as a SCSI controller type.
- Add a new Network Device and in the Model field select the VirtIO (paravirtualized) option.
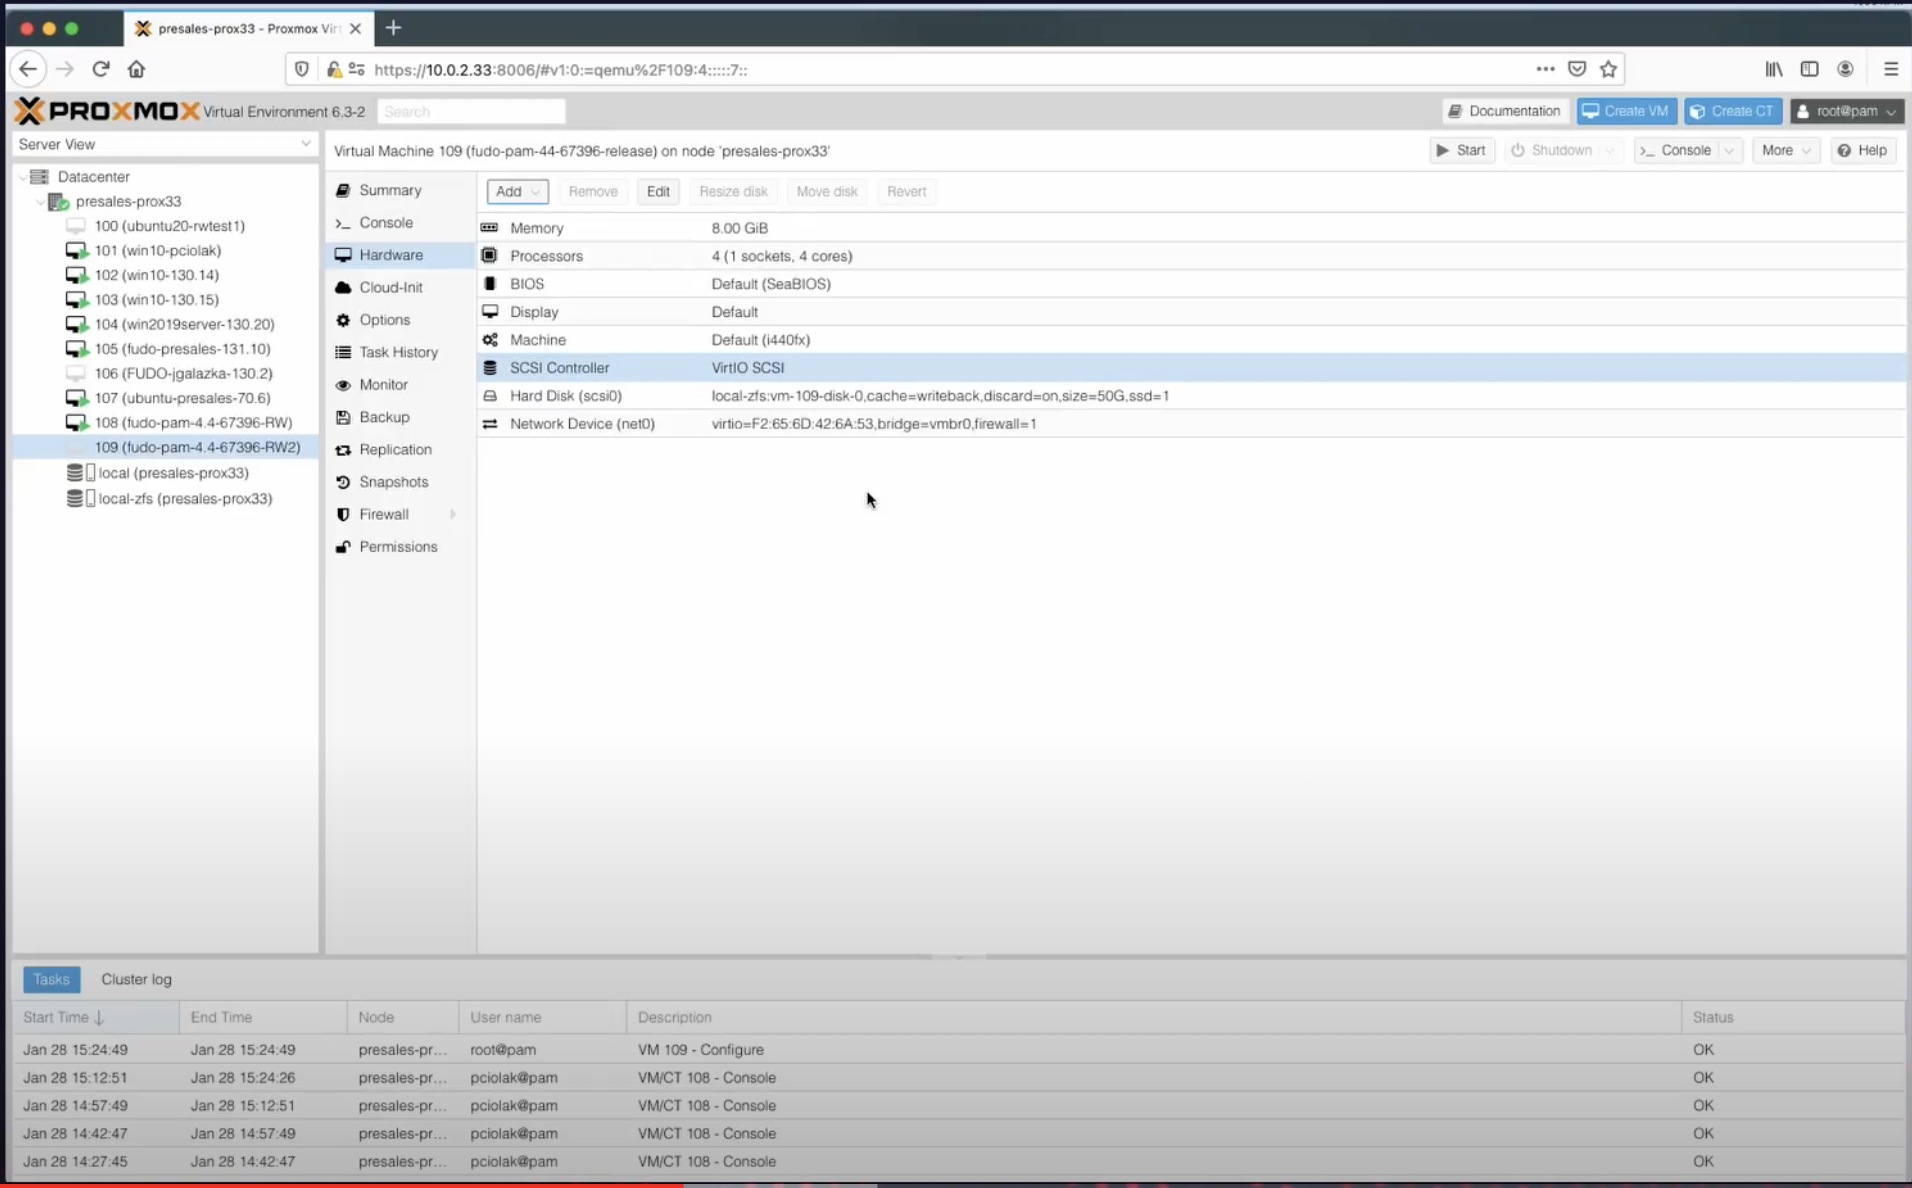
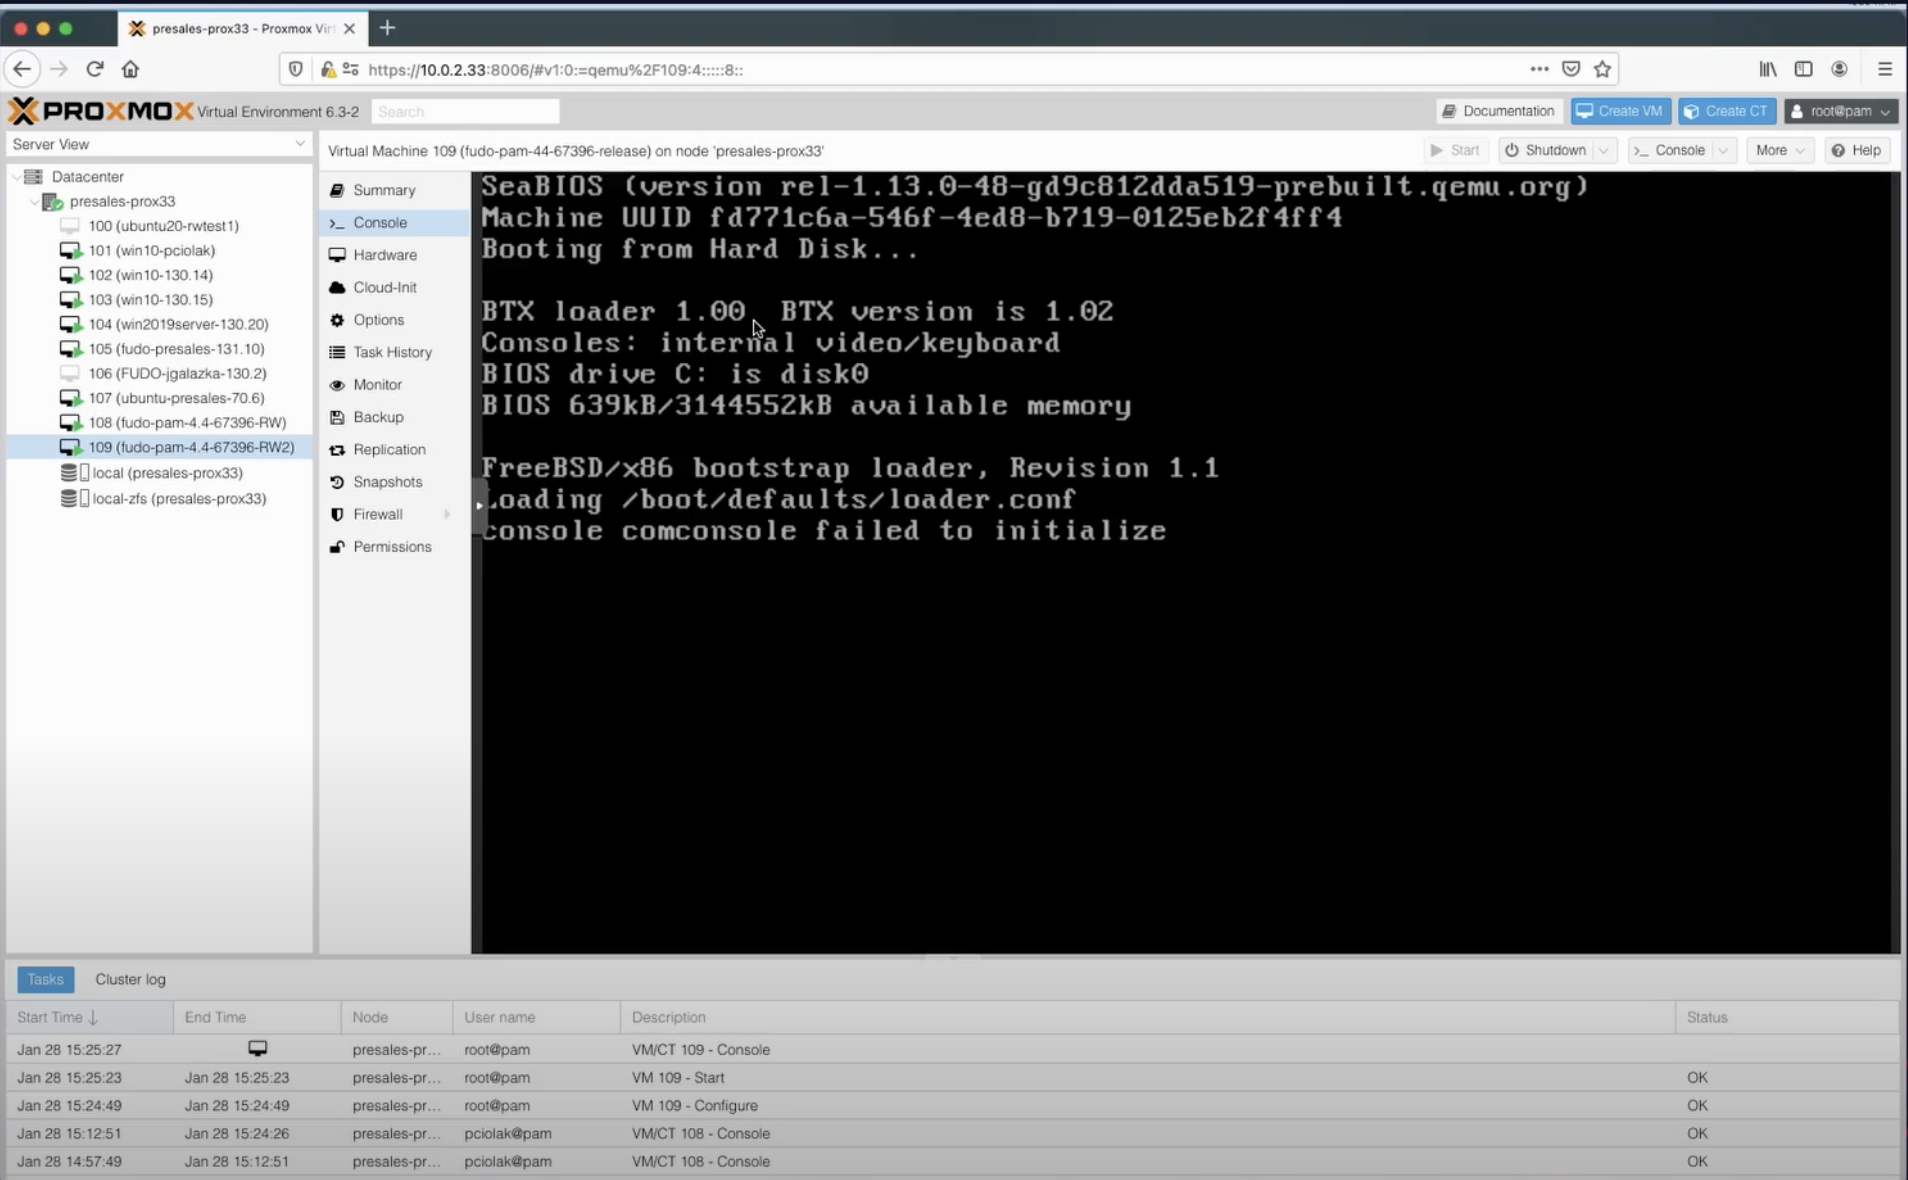
- Click the Start option.
- Go to the Console.
Select the region and city by providing respective codes and confirming your choice.
Enter date and time in
DD.MM.YYYY HH:MMformat.Set the network configuration:
Sign in as an administrator:
login: adminpassword: proxycryptoFrom the list of the Fudo configuration utility, select the option 3 - Reset network settings.
Select new management interface and enter the IP address with a mask.
Enter a new default gateway IP address.
Note
Your Fudo Enterprise instance has been successfully initiated!
- Enter the registered IP address in your browser bar and sign in as an administrator.
- In the Network configuration settings input a name for the Access Gateway address. Click Save.
- Add a new DNS server address in the Name & DNS sub-tab. Click Save.
- In the System settings, add a new NTP server address. Click Save.
- From the contextual menu in the upper right corner, select the Restart option.
- Wait for the system to be restarted and sign in back again.
Note
Now you can start with your first configuration!
Related topics: