Redundancy groups
Redundancy groups ensure high system availability. If a master node fails, IP addresses assigned to the redundancy group will be automatically picked up by another node with the highest priority assigned to this group. Assigning different priorities to different redundancy groups enables implementing static load balancing scenario while fully preserving high availability features.
Note
Redundancy groups configuration options are available only after initializing the cluster.
Adding redundancy groups
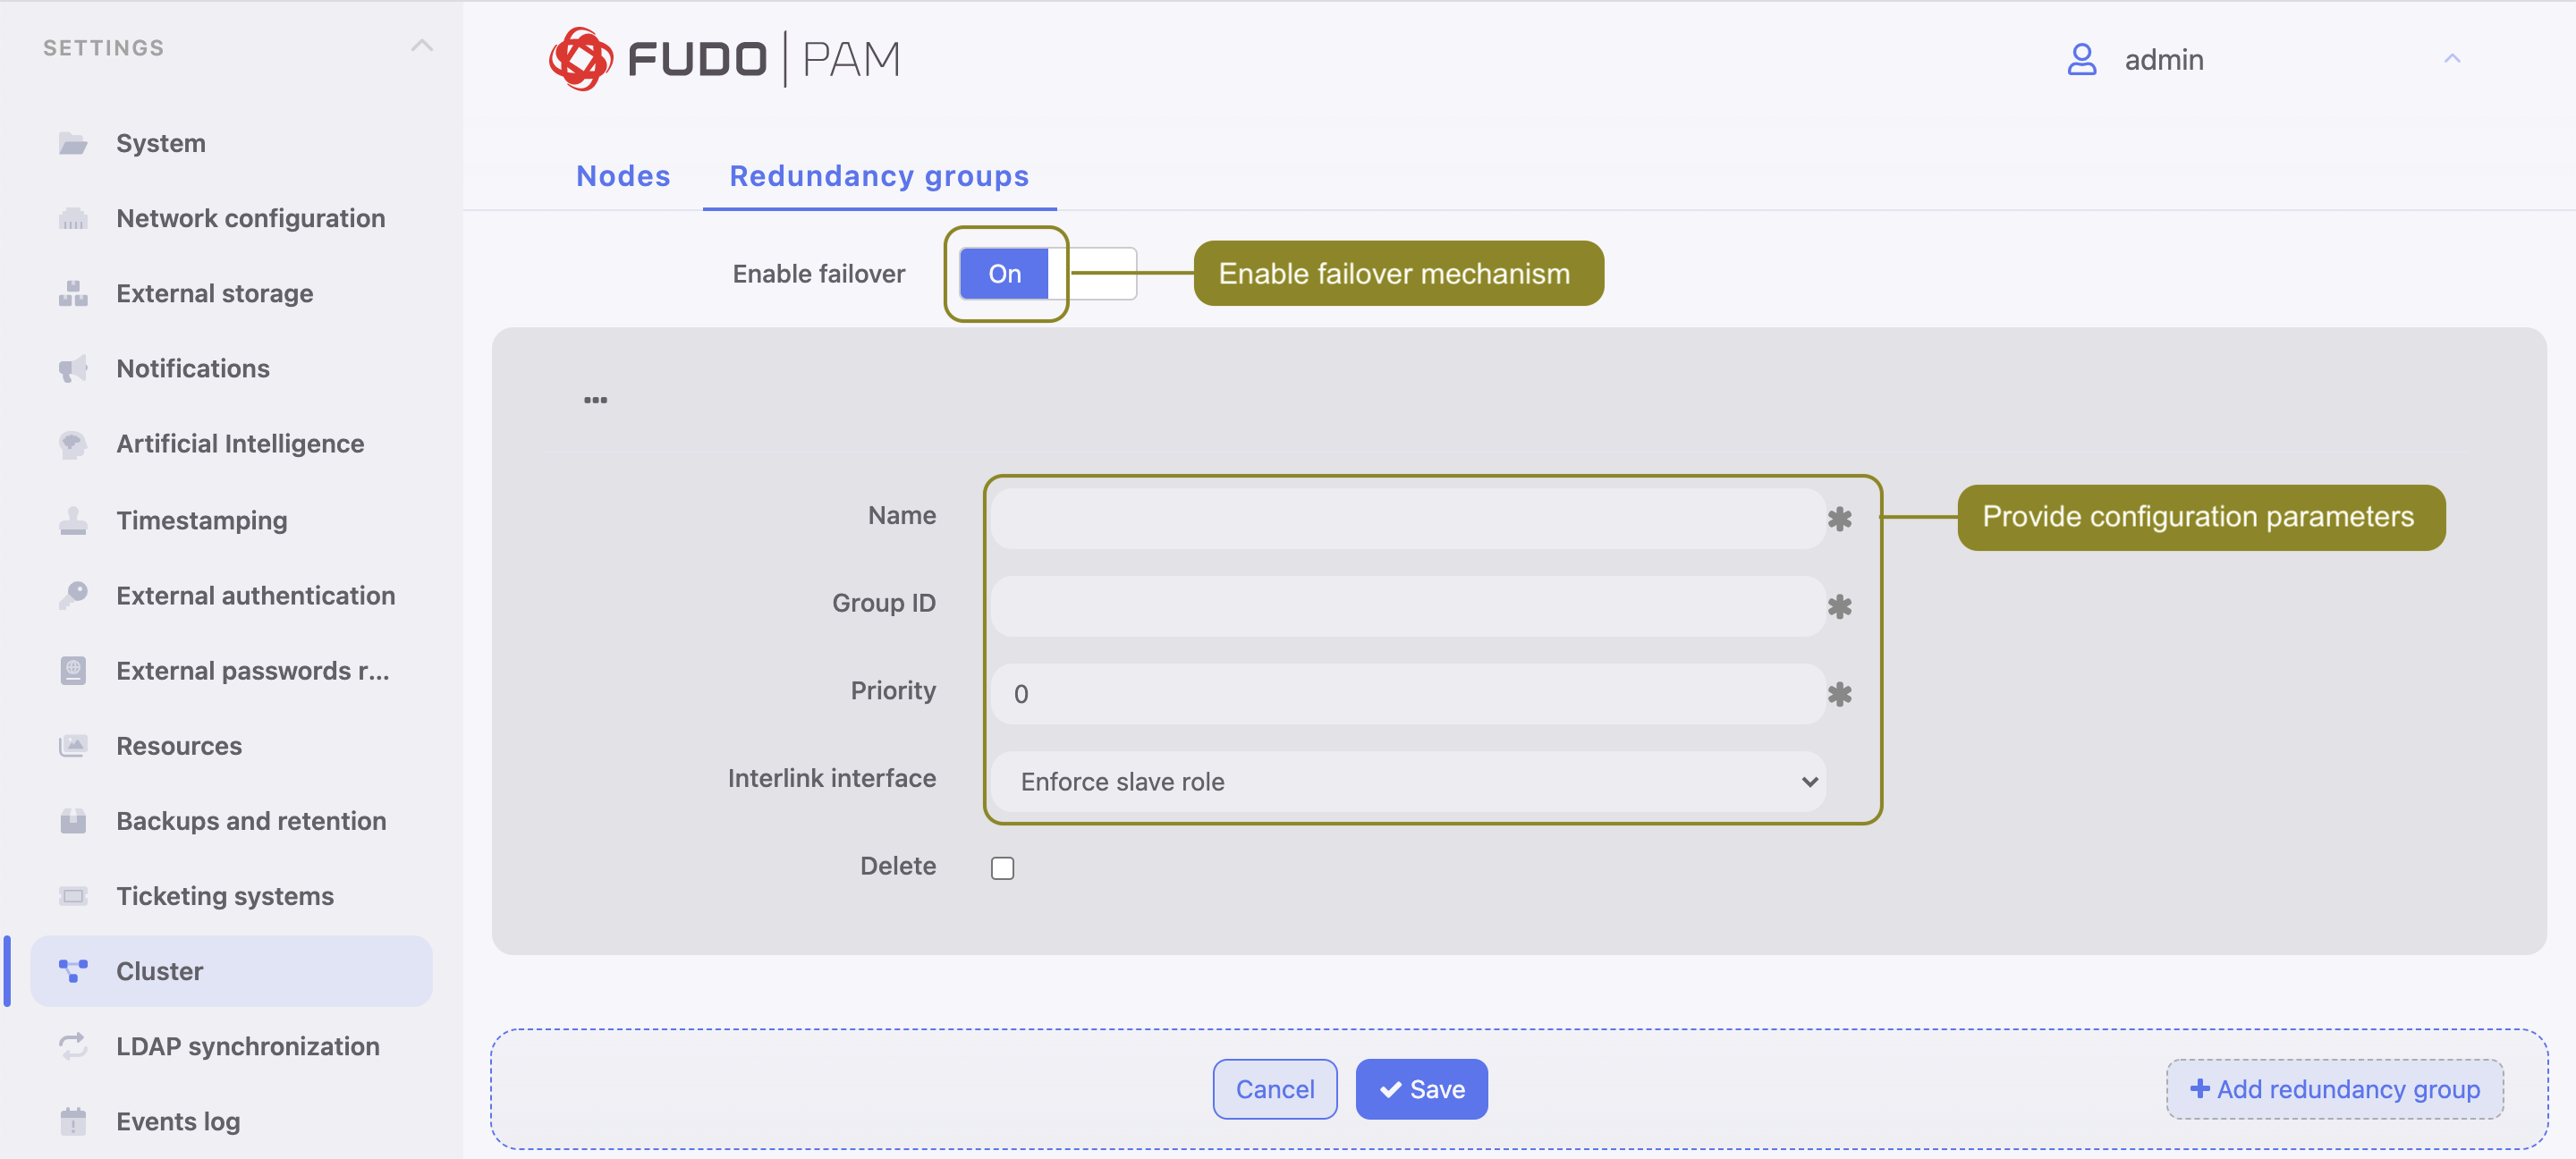
To add a redundancy group, proceed as follows.
- Select > .
- Switch to the Redundancy groups tab.
- Click .
- Define group properties.
| Parameter | Description |
|---|---|
| Name | Descriptive name of the redundancy group. |
| ID | Redundancy groups identifier (1-255). |
| Priority | Redundancy group priority (0-254), the lower the number the higher the priority. |
| Redundancy group with higher priority assumes the master role and handles all requests to monitored servers accessed through IP addresses assigned to this group. In case given cluster node crashes, user requests are directed to on of the remaining nodes with the highest priority defined for given redundancy group. | |
| Interlink interface | Network interface used for monitoring the state of the given redundancy group. The master node broadcasts keep-alive packets in the 2nd networking layer informing other nodes that it is up and running while other cluster nodes use the interlink interface to listen for those packets. |
Note
By default, once a node takes the master role, it will continue on indefinitely as the master node.
- Click .
- Select > .
- Click i to add new IP address.
- Enter IP address and click the i icon to mark the entry as a cluster IP address.
- Assign previously added redundancy group.
- Click .

Note
Cluster IP address must be defined on every cluster node.
Editing redundancy groups
To modify a redundancy group, proceed as follows.
- Select > .
- Switch to the Redundancy groups tab.
- Find and edit desired redundancy group definition.
- Click .
Deleting a redundancy group
To delete a redundancy group, proceed as follows.
- Select > .
- Switch to the Redundancy groups tab.
- Click i next to the desired redundancy group.
- Click .
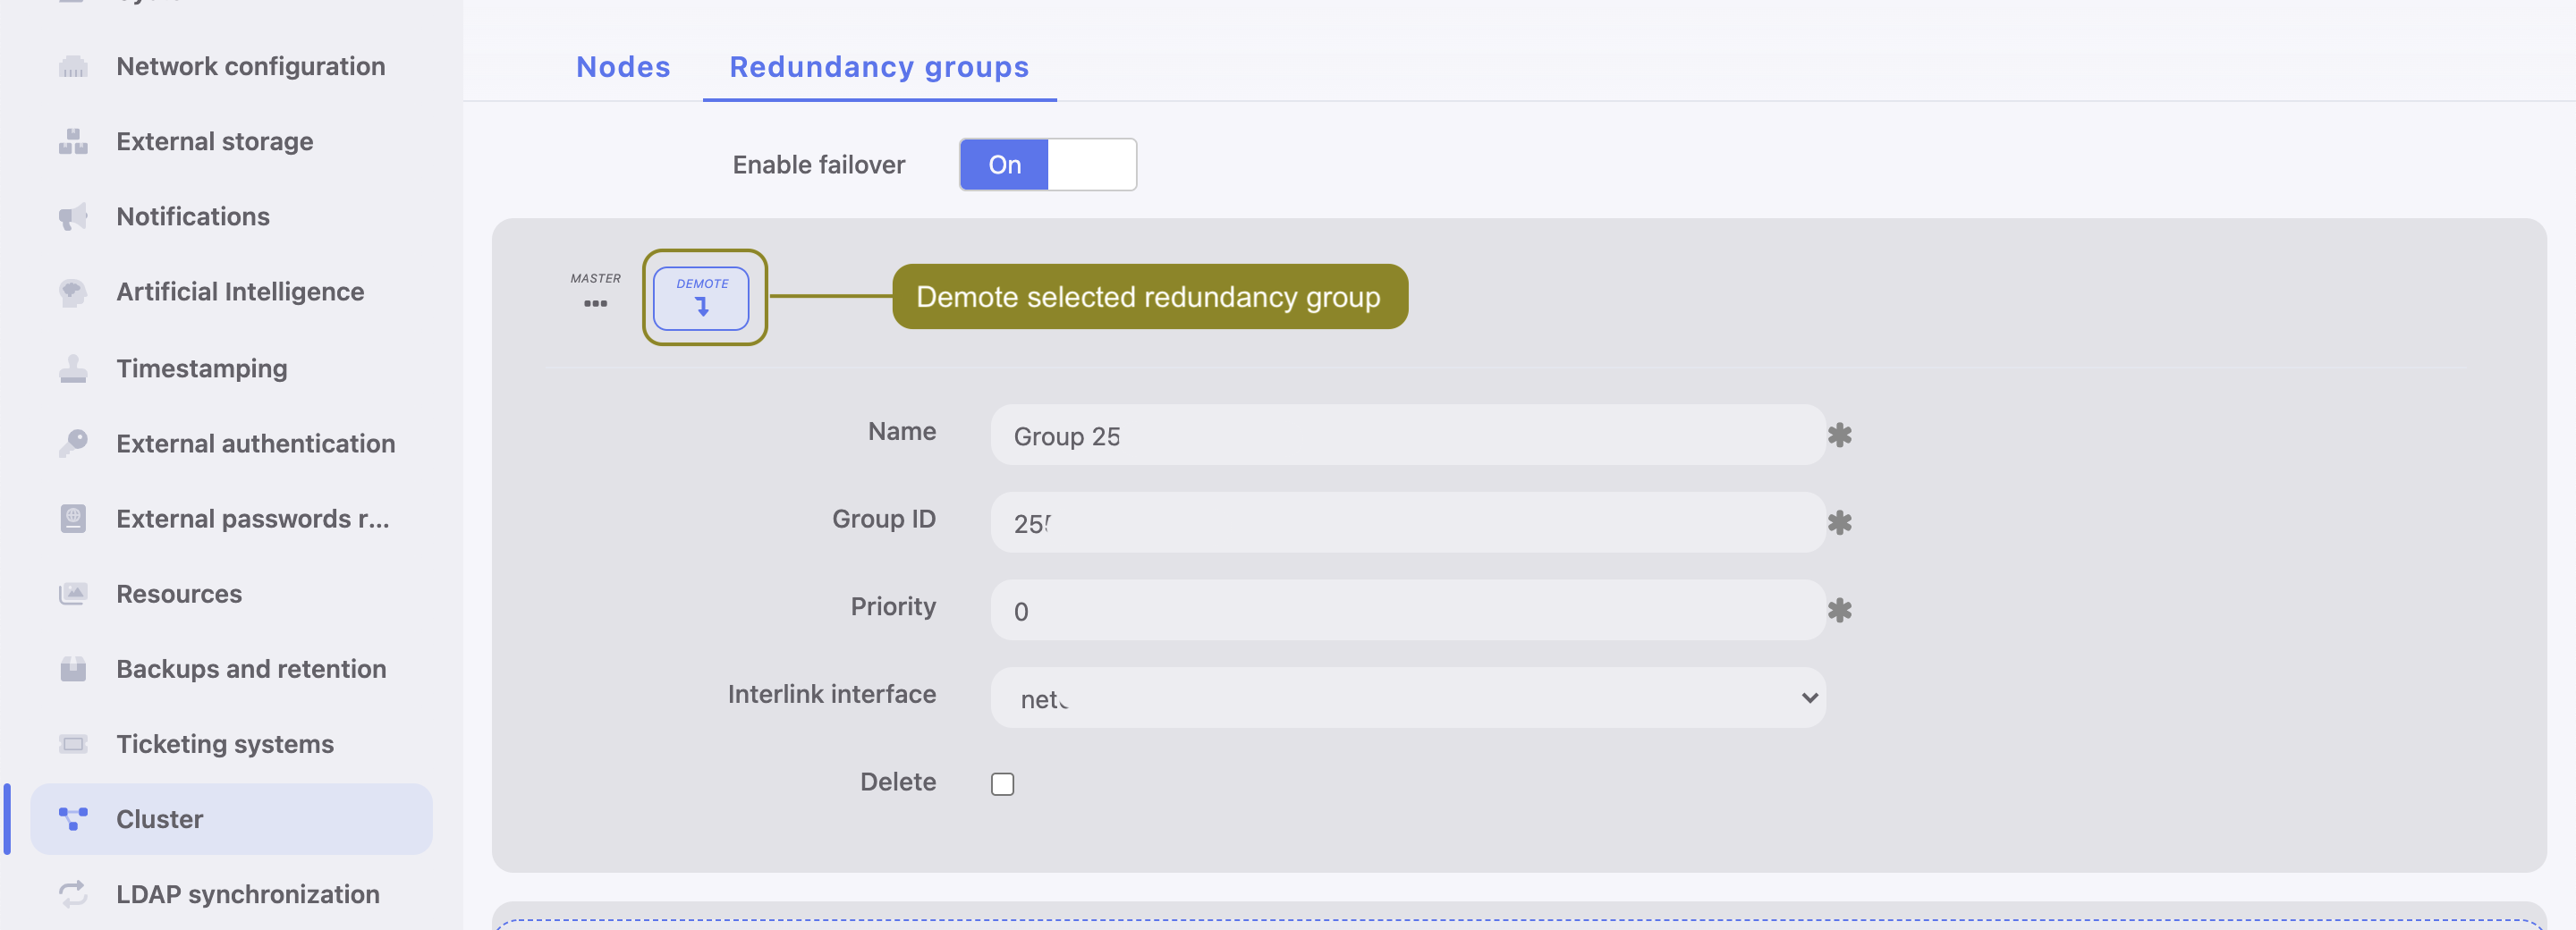
Demoting a redundancy group
Note
Demoting redundancy group transfers the master role for given group to another cluster node. The master role is assumed by one of the remaining nodes, on which the given redundancy group has the highest priority defined.
To demote a redundancy group, proceed as follows.
- Select > .
- Switch to the Redundancy groups tab.
- Click i next to the desired redundancy group.
- Click .
Note
If after demoting a redundancy group no other node assumes the master role for the given group, it will be reassigned to the node which previously had this role.
Enforcing a slave role
Note
Enforcing a permanent slave role on a redundancy group ensures that the given node will not assume master role on given redundancy group despite the state that other nodes are in. It’s recommended for directing all traffic to other nodes before performing maintenance tasks on given cluster node. A different use case scenario would be a cluster node in a remote location with no 2nd network layer communication with other nodes.
To enforce a permanent slave role on a redundancy group, proceed as follows.
- Select > .
- Switch to the Redundancy groups tab.
- Find desired redundancy group and select
Enforce slave modefrom the Interface drop-down list. - Click .
Related topics: