Creating a HTTP listener
Portal users connecting to an HTTP listener don’t have to provide credentials in an HTTP login page but are presented to an already authenticated session based on the fact they’re already authenticated on a portal.
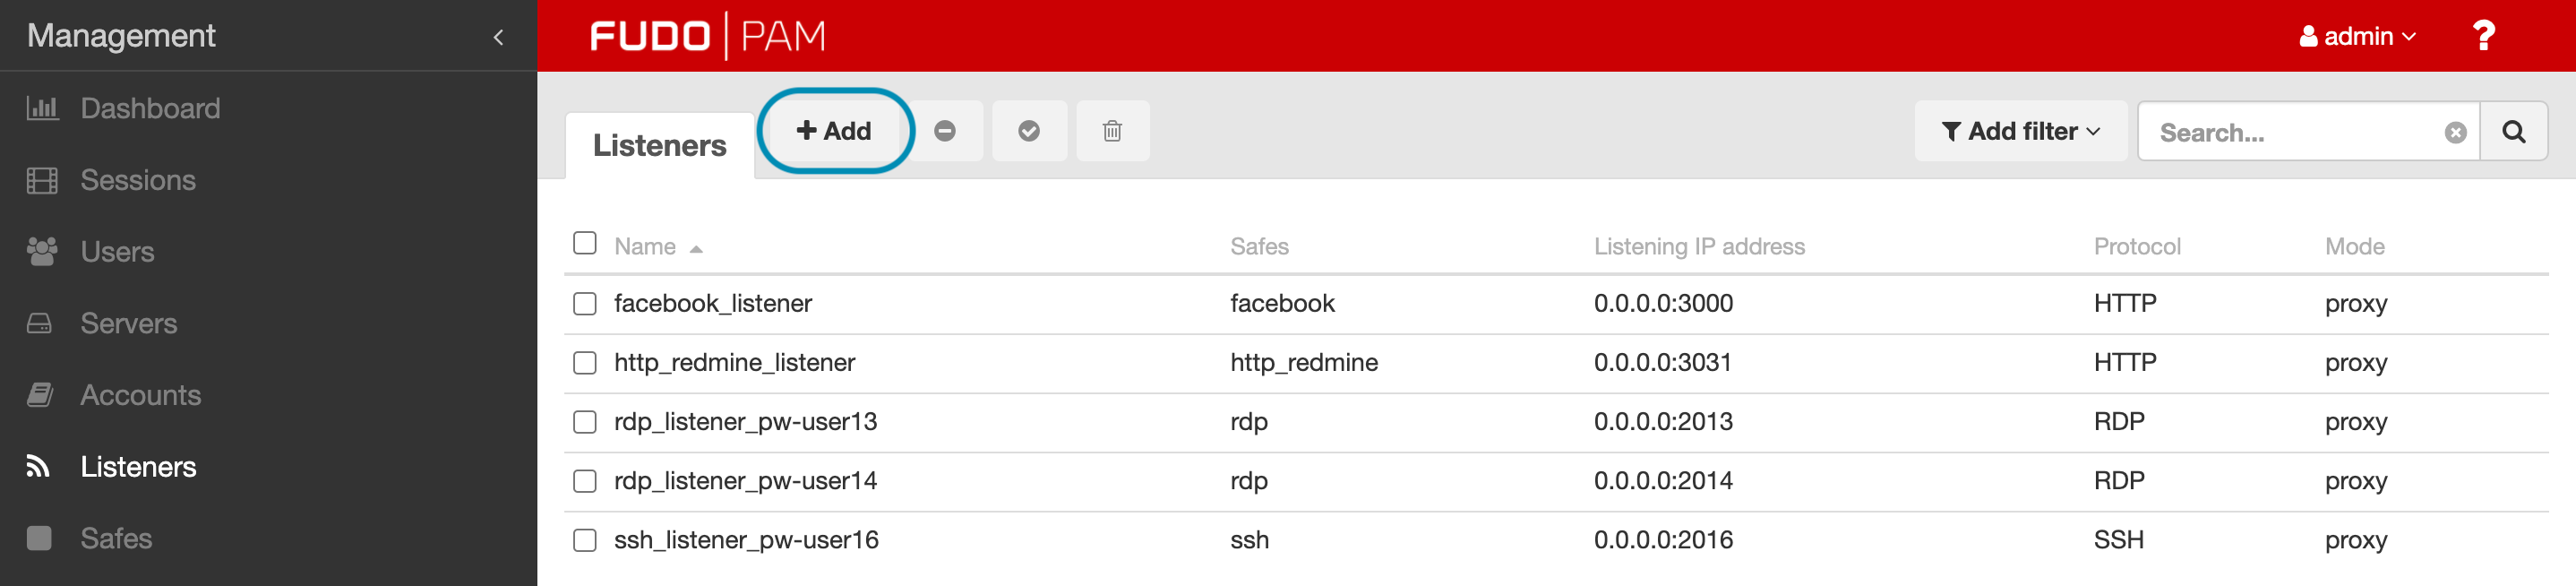
- Select > .
- Click .
- Enter listener’s unique name.
- Select Blocked option to disable access to servers through this listener after it’s created.
- Select
HTTPfrom the Protocol drop-down list. - Select Render sessions to enable graphical session rendering.
Note
- Graphical HTTP rendering requires a substantial amount of processing power. It is recommended to limit the number of rendered HTTP sessions to minimum to ensure high system’s responsiveness.
- In case of rendered HTTP sessions, raw protocol data is not recorded.
- In the Permissions section, add users allowed to manage this object.
- In the Connection section, select desired connection mode.
bastion
Note
- Bastion mode is supported for rendered mode only.
- User connects to the target host by including its name in the login string, e.g.
john_smith#mail_server.- For details on bastion connection mode, refer to Connection modes topic.
- Select
bastionfrom the Mode drop-down list.- Select the the IP address from the Local address drop-down list and enter port number.
- In the External address field, enter an IP address (or FQDN name) along with the port number, under which Fudo can be accessed from outside the local network.
Note
The external address is listed in user portal and it enables establishing connections from external networks.
gateway
Note
User connects to the target host by providing its actual IP address. Fudo PAM moderates the connection with the remote host using own IP address. This option requires deploying Fudo PAM in the bridge mode.
- Select
gatewayfrom the Mode drop-down list.- Select the network interface used for handling connections over this listener.
proxy
Note
- User connects to the target host by providing Fudo PAM IP address and port number which unambiguously identifies target host.
- Proxy mode is not supported by dynamically added hosts.
- Select
proxyfrom the Mode drop-down list.- Select the the IP address from the Local address drop-down list and enter port number.
Note
- The Local address drop-down list elements are IP address defined in the Network configuration menu (Network interfaces configuration) or labeled IP addresses (Labeled IP addresses).
- Selecting the
Anyoption will result in Fudo listening on all configured IP addresses.- In case of cluster configuration, select a labeled IP address from the Local address drop-down list and make sure that other nodes have IP addresses assigned to this label. For more information refer to the Labeled IP addresses topic.
- In the External address field, enter an IP address (or FQDN name) along with the port number, under which Fudo can be accessed from outside the local network.
Note
The external address is listed in user portal and it enables establishing connections from external networks.
transparent
Note
User connects to the target host by providing its actual IP address. Fudo PAM moderates the connection with the remote host using user’s IP address. This option requires deploying Fudo PAM in the bridge mode.
- Select
transparentfrom the Mode drop-down list.- Select the network interface used for handling connections over this listener.
- Select the Use TLS option to enable encryption.
- Select Legacy ciphers option to allow negotiating older encryption algorithms (DSA(1024), RSA(1024)) when establishing connections.
- In the TLS certificate field, click i to generate TLS certificate, or click i to upload server certificate file with private key pasted at the end of the file. The rest of the required fields will be filled automatically. Allowed format of the server certificate file is PEM, although besides
.pem, accepted file extensions are.txtand.cert. - Click .
Related topics: