Custom RDP Hostname in the Session Title
Note
Please note that this is a general guide, and specific details may vary depending on your Windows Server setup. Refer to the Windows Server documentation for precise configuration steps.
This use case describes how to configure a custom hostname displayed in the RDP client title bar for sessions started from the User Access Gateway using the Native client option.
This configuration enables clear, user‑friendly RDP session identification by preserving custom hostnames through Fudo Enterprise.
Warning
Wildcard must be created on DNS side. Fudo Enterprise does NOT generate DNS records.
DNS Configuration in Windows DNS Manager
Create Subdomain for Wildcard Usage:
Open the Server Manager application.
Click Tools button on the upper right corner of the window to expand the menu list and select DNS.

Go to Forward Lookup Zones, right click on the domain name (e.g.,
main.lab) and select New Domain.Provide the New DNS domain name (e.g.,
dev).Click OK.
Create Wildcard A Record:
Right click on the added zone name (
dev) and select New Host (A or AAAAA).In the Name field, type an asterisk (
*).In the IP address field, type the Fudo Enterprise User Access Gateway address (e.g.,
10.31.135.180).Optionally, you can select the Create associated pointer (PTR) record option.
Click Add Host.
Note
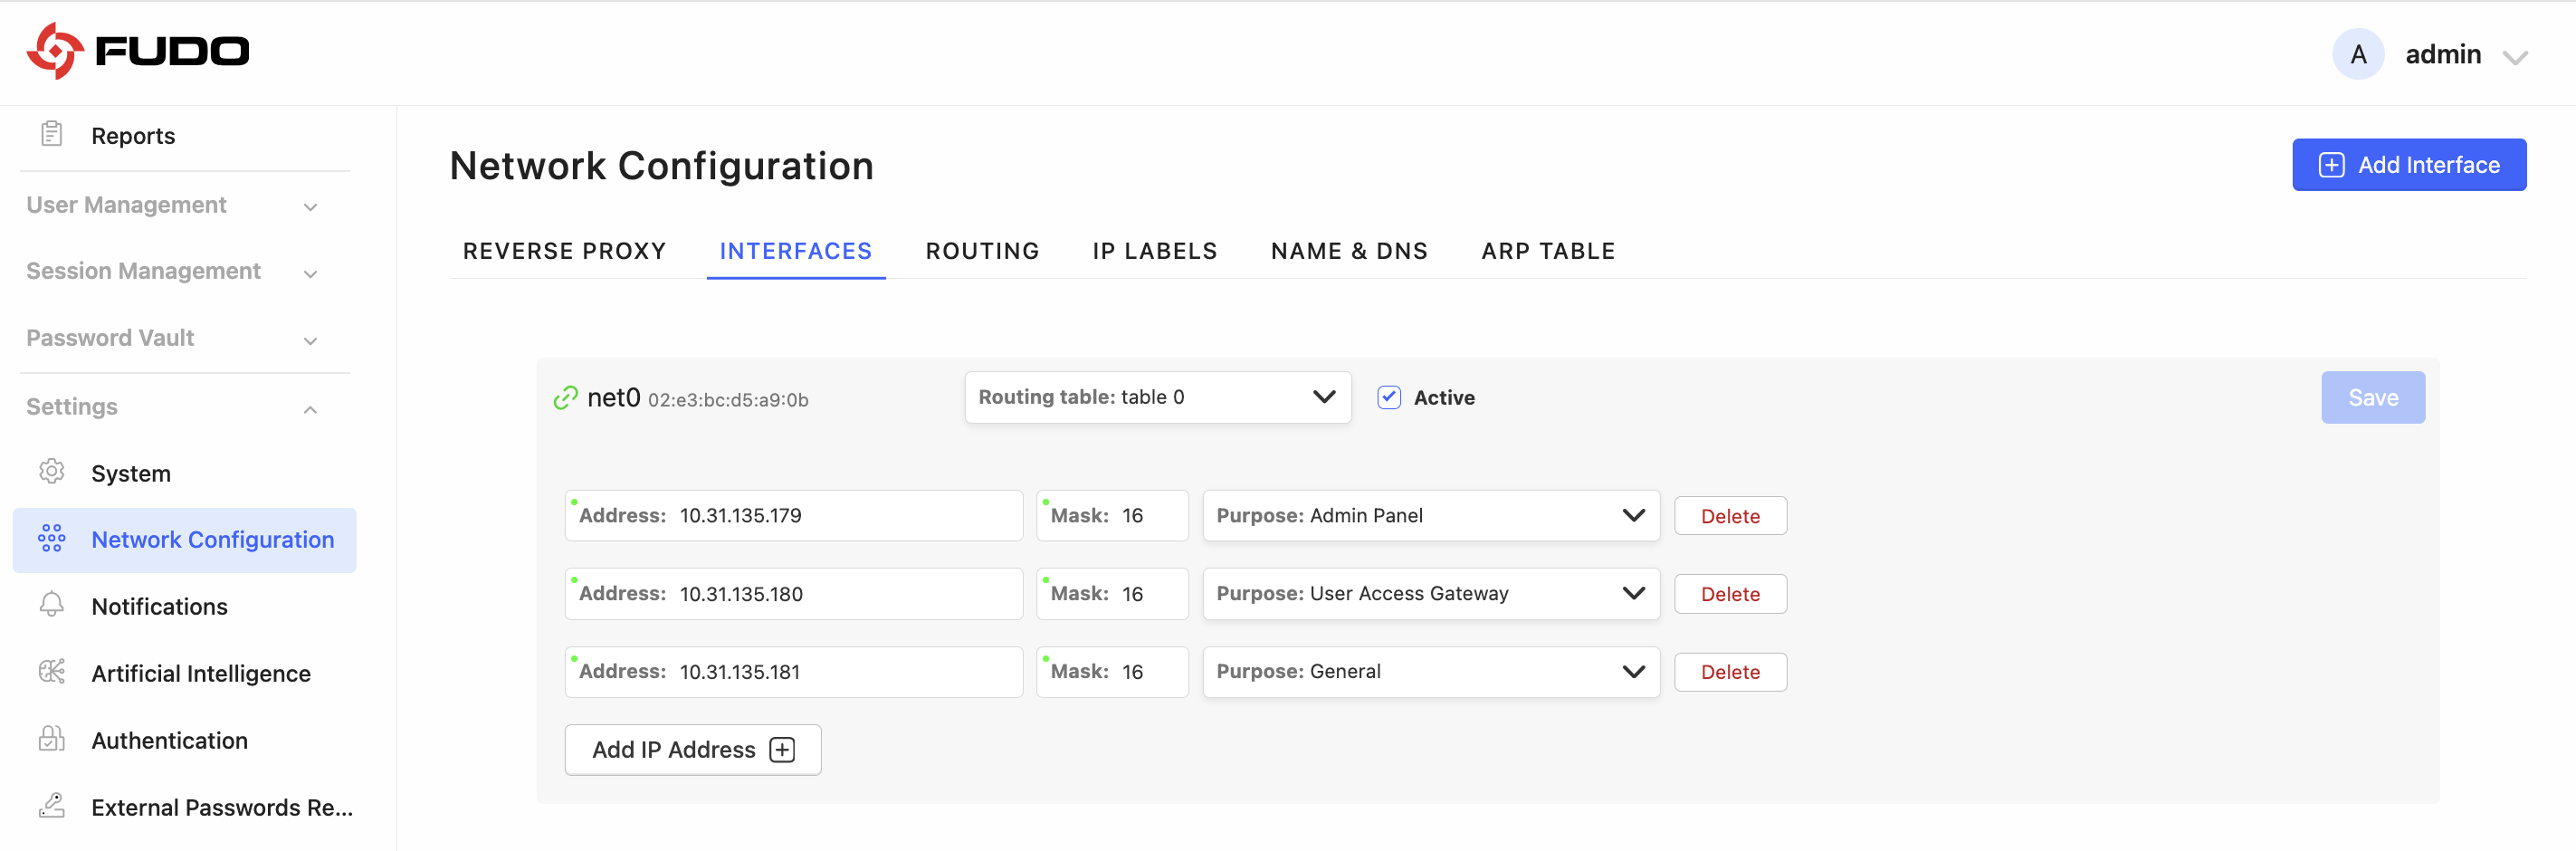
You can check the address assigned for User Access Gateway in the > > Interfaces. Ensure that the interface is Active.
Fudo Enterprise Configuration
Select > and click the selected RDP listener’s name to edit it.
In the listener configuration, locate the RDP config domain field.
Enter the domain that should be appended to the generated hostname (e.g.,
jdoe.dev.main.lab).
Click .
Note
When the RDP config domain field is configured, the listener uses hostnames from the specified domain. Leave this field empty if you do not want to use custom hostnames for listener.
Each RDP listener can use a different custom domain.
Start RDP Connection
Sign in to the User Access Gateway.
Navigate to Resources.
Find desired RDP account and server, hover your mouse over to show more options.
Select the button.
Choose the listener, via which you want to connect.
Click .
Google Chrome will automatically download generated
.rdpfile.
Open the downloaded
.rdpfile using your native RDP client (e.g., Remote Desktop Connection for Windows, Windows App for macOS.
Result
When RDP config domain is configured, the generated .rdp file contains a hostname built with that domain in the full address entry. As a result, the RDP client title bar shows a custom hostname that is easier for the user to identify. Session title shows configured hostname (e.g., server-name - 10.0.242.25.jdoe.dev.main.lab:2222).
Note
If the RDP config domain field is left empty, the generated RDP configuration uses the default connection address, as in previous versions.
RDP File Example
full address:s:10.0.234.1.jdoe.dev.main.lab:2222
username:s:<generated_username>
prompt for credentials:i:1
Where:
10.0.234.1– target server IPjdoe.dev.main.lab– custom hostname2222– listener portgenerated_username– temporary / OTP username from Fudo Enterprise
Note
The custom RDP hostname is a DNS label pointing to the Fudo Enterprise listener, not to the target server itself.
Related topics: