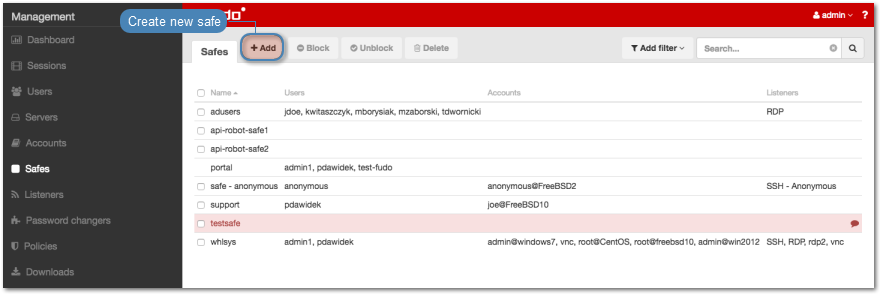
Creating a safe
Warning
Data model objects: safes, users, servers, accounts and listeners are replicated within the cluster and object instances must not be added on each node. In case the replication mechanism fails to copy objects to other nodes, contact technical support department.
- Select > .
- Click .
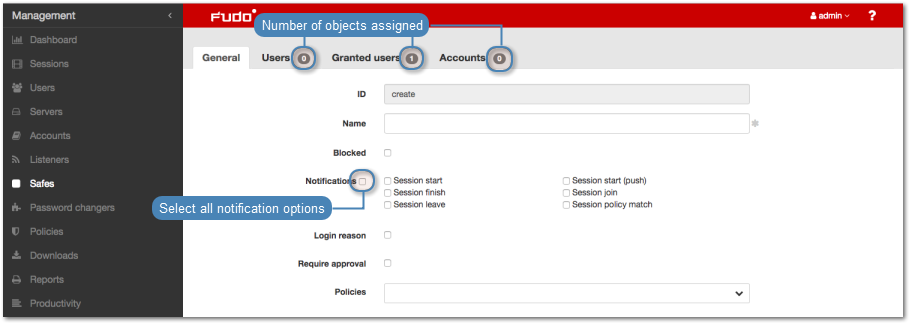
- Enter object’s name.
- Select Blocked option to disable access to object after it’s created.
- Select system events, about which you want to be notified.
Note
- Notification settings are applied only to the currently logged in Fudo PAM administrator/operator (user with a superadmin, admin or operator role). Each system administrator/operator must log in to Fudo PAM web interface and adjust their settings individually to receive notifications regarding a particular safe.
- Select Login reason option, to display prompt upon logging in, asking user to enter login reason.
Note
Login reason is not supported in HTTP connections.
- Select Require approval option to have the administrator approve each connection to servers accessed through configured safe.
- Assign security policies in the Policies field.
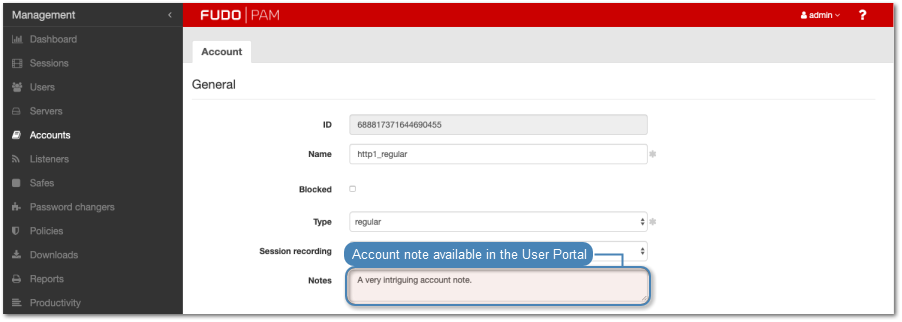
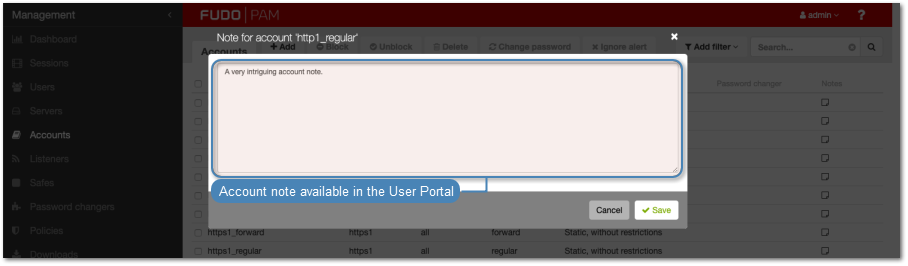
- From the Note access drop-down list, select user access rights to account related notes.

- Select Session time limit option and input a minutes value.
- Select Session inactivity limit option and input a minutes value – a session will be disconnected after the given period.
- In the Protocol functionality section, select allowed protocols’ features.
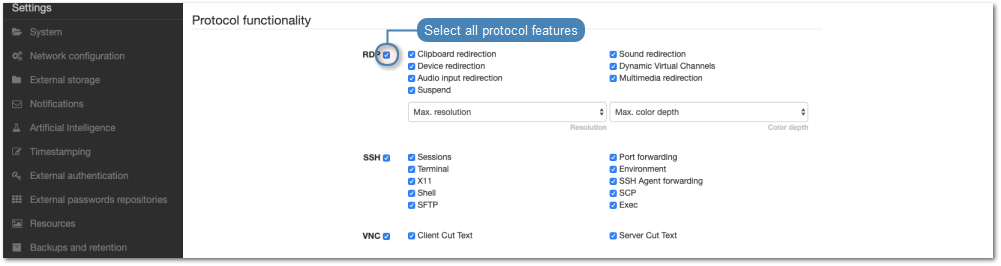
Note
With the Suspend option enabled, session content will not be available for viewing when the user minimizes its client application.
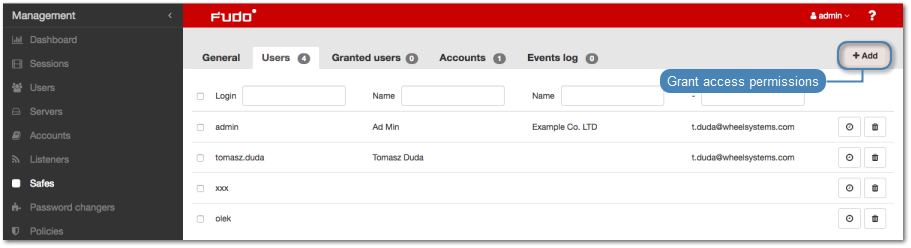
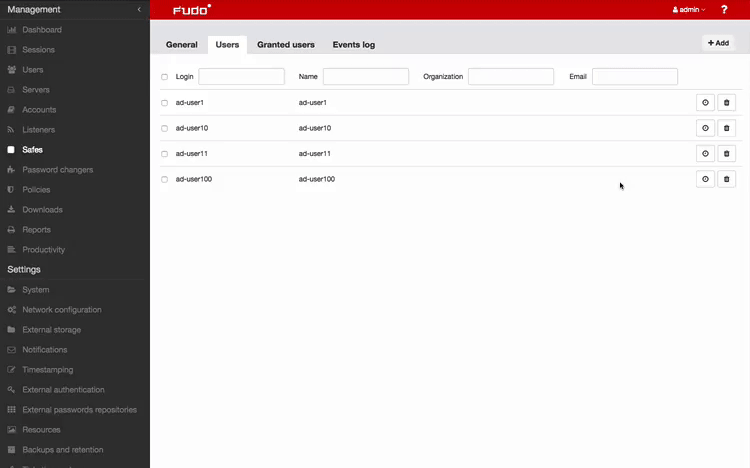
- Select Users tab to assign users allowed to access accounts assigned to this safe.
- Click .
- Click i next to desired user to enable server access over monitored safe.
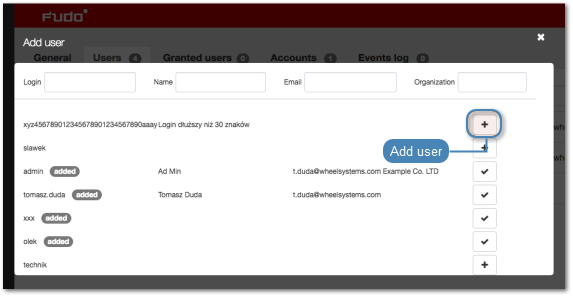
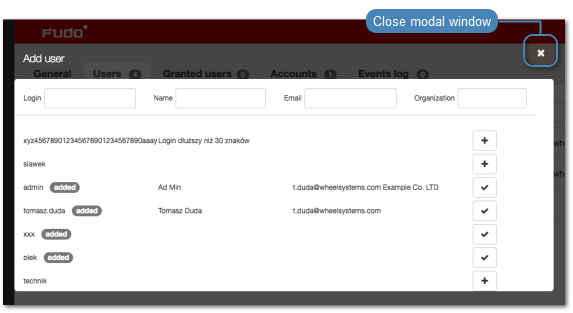
- Click i to close the modal window.
Define safe access options.
- Click . to define the timeframe when given user can access this object.
- Click . to define daily access policy.
- Click . to allow user to check out and view passwords in the User Portal.
- Click . to disable access for selected user.
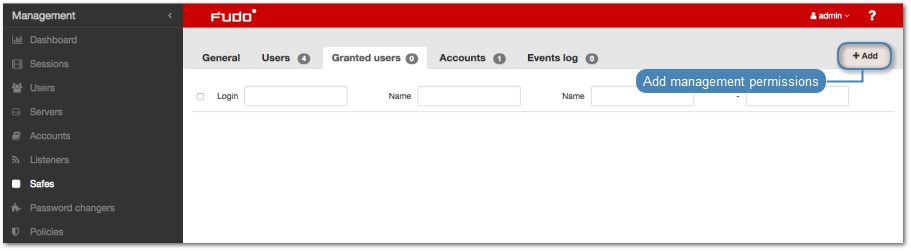
Select Granted users tab to assign users allowed to manage this object.
Click .
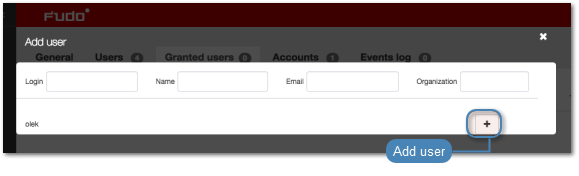
- Click i next to desired user to enable server access over monitored safe.
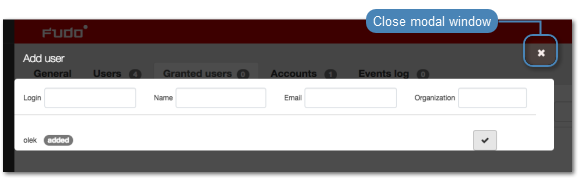
- Click i to close the modal window.
- Select Accounts tab to add accounts accessible through this safe.
- Click .
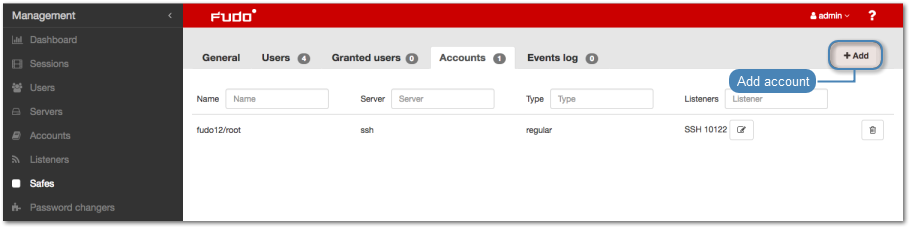
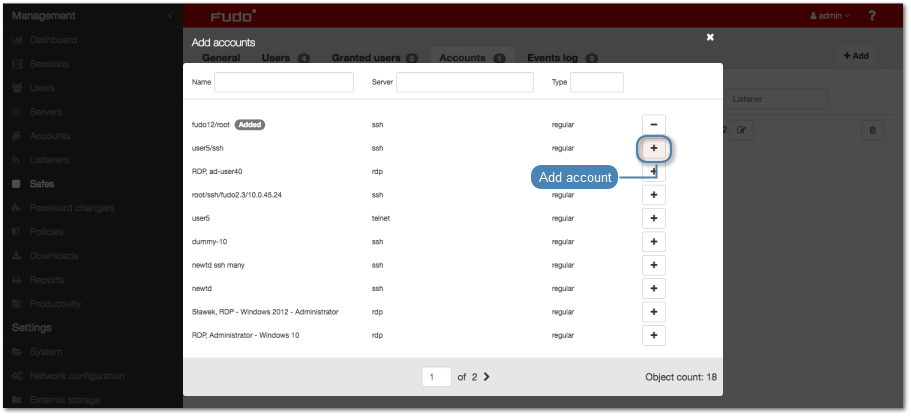
- Click . to add accounts.
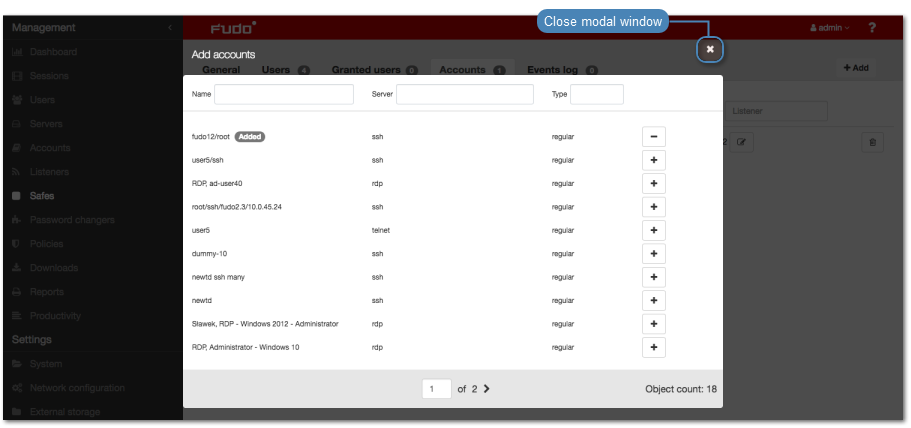
- Click . to close the modal window.
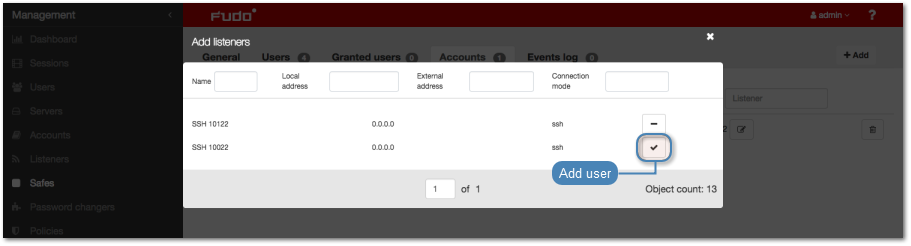
- Click to assign listeners to accounts.
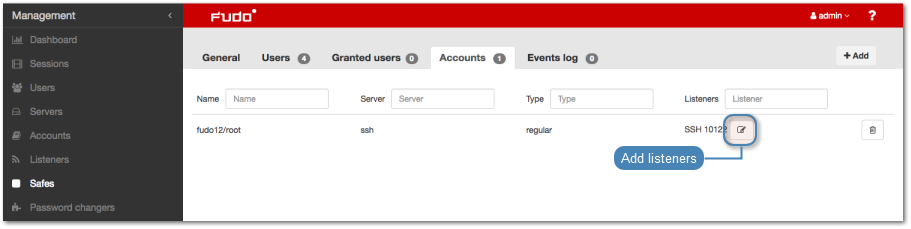
- Click . to add listeners.
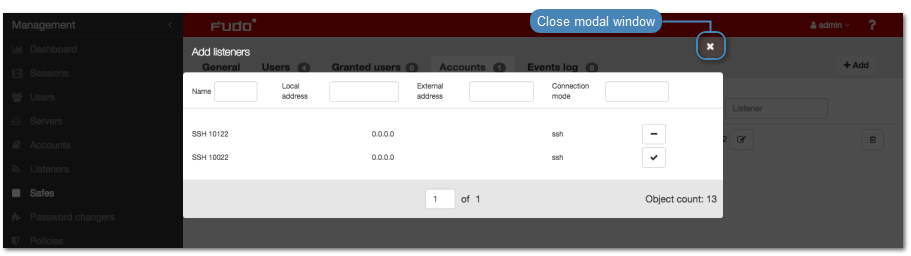
- Click . to close the modal window.
- Click .
Related topics: